Help Center

Manage Role Access to Class and Taxonomies

This is an administration feature that restricts a user’s access to Class and Taxonomy levels. The feature ensures that the user works directly with the articles they are intended to be responsible for.

Key Term:
  • Class: a class defines the base configuration for products.
Description:
  • Restrict access to particular levels of class and taxonomy to a particular role.
  • Role access can be configured within the organization as well as for partners.
  • Use the adminstration section to configure access.
Related topics:
Application:
  • The admin has the ability to restrict the rights of various roles within the organization and its partners so that they only have access to areas under their responsibility.

  • Example:

    Retailer XYZ has Supplier A and Supplier B. Supplier A provides furniture and Supplier B provides electronic goods. So, when restricted by admin, Supplier A will only see his products: Furniture. Similarly, Supplier B will only be able to access his products: Electronics.

How-to: Restrict a Role’s Access to Class and Taxonomy

To restrict a role’s access to class and taxonomy, follow these steps:


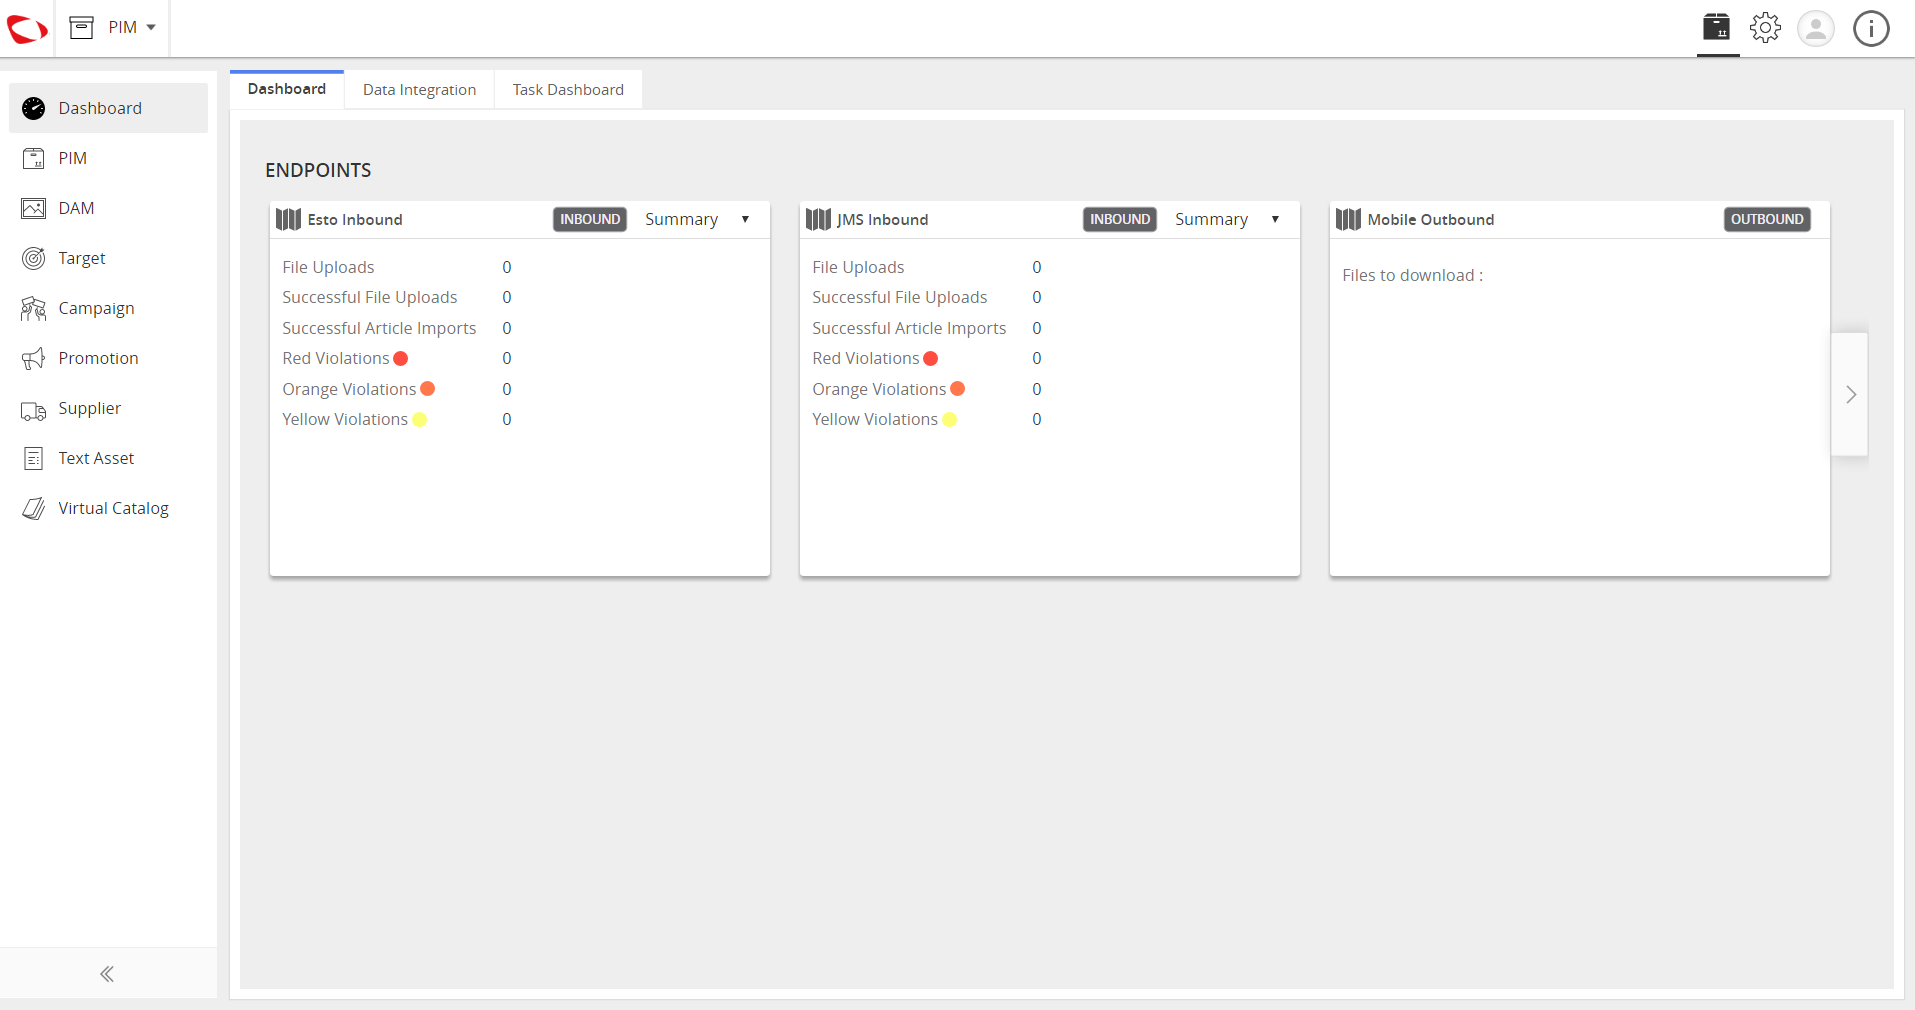
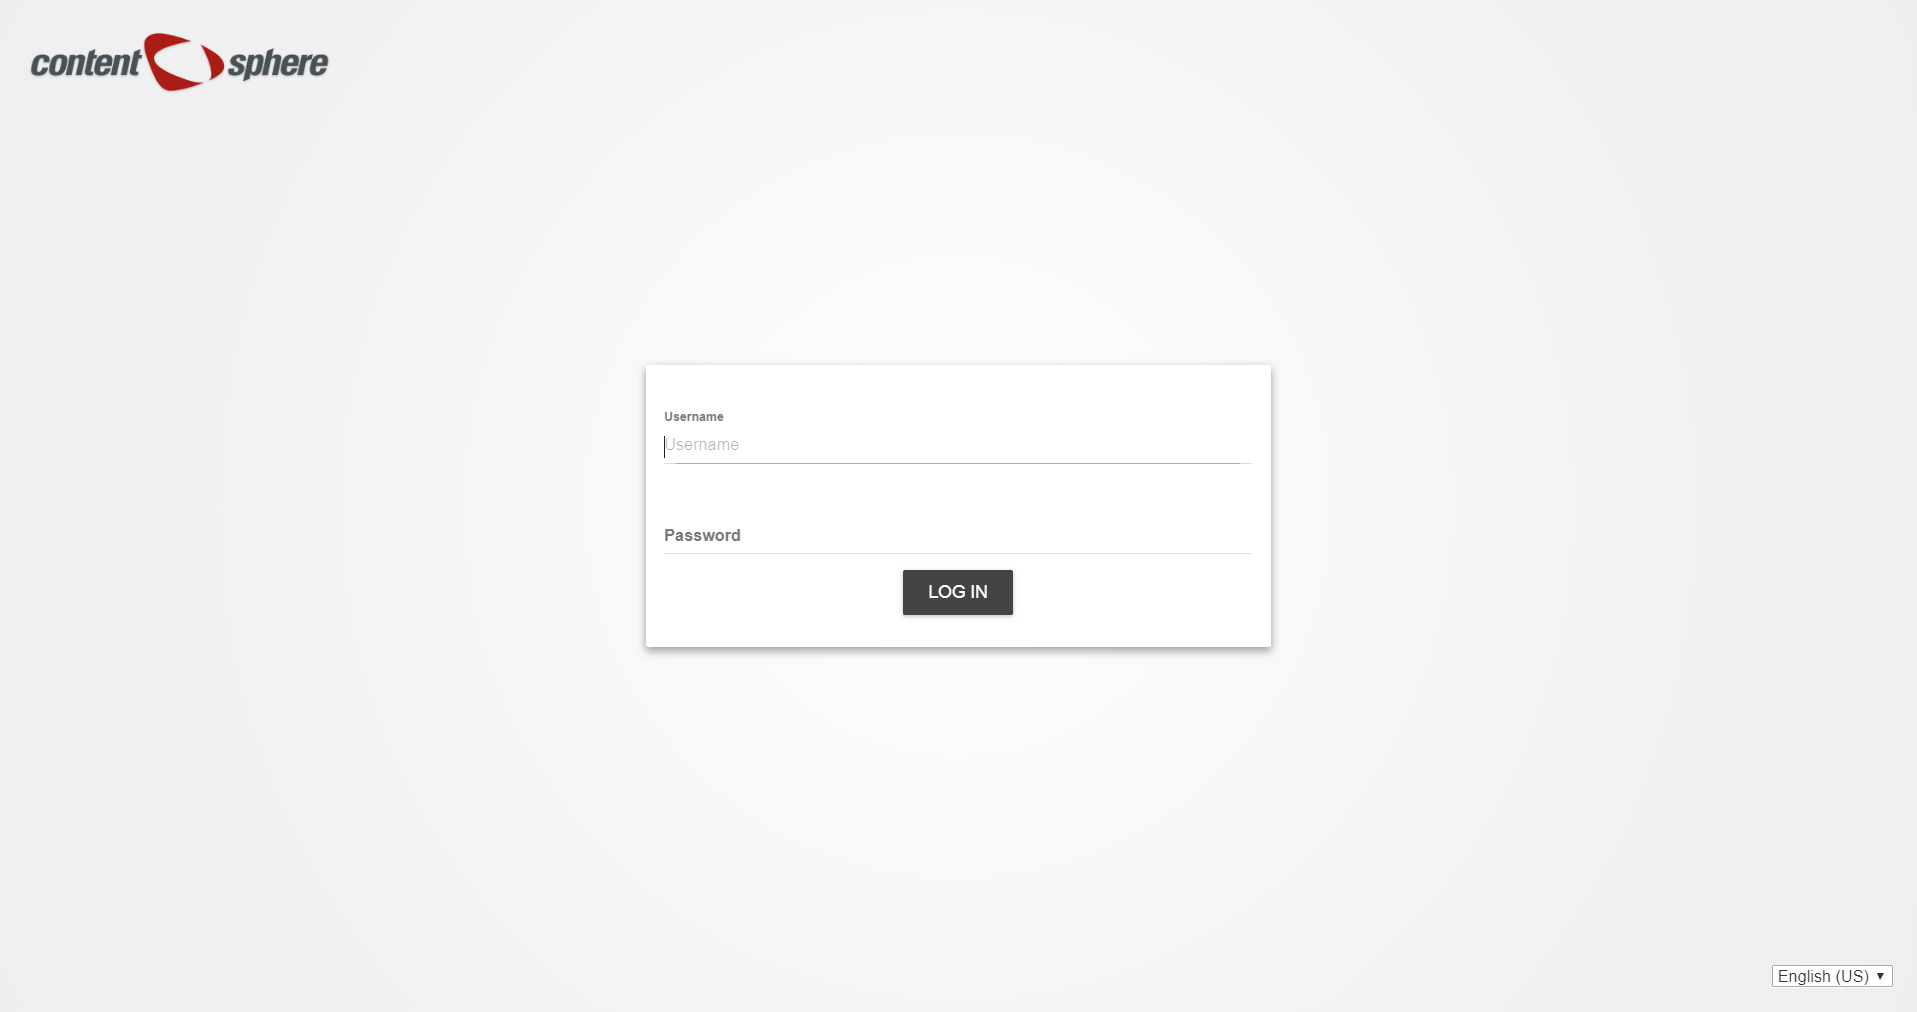
  1. Log in and click on the Administration button to enter the configuration page.
../../../../../_images/cs_manageroleaccesstoclassandtaxonomies_clickadministration.PNG


  1. Create a user.

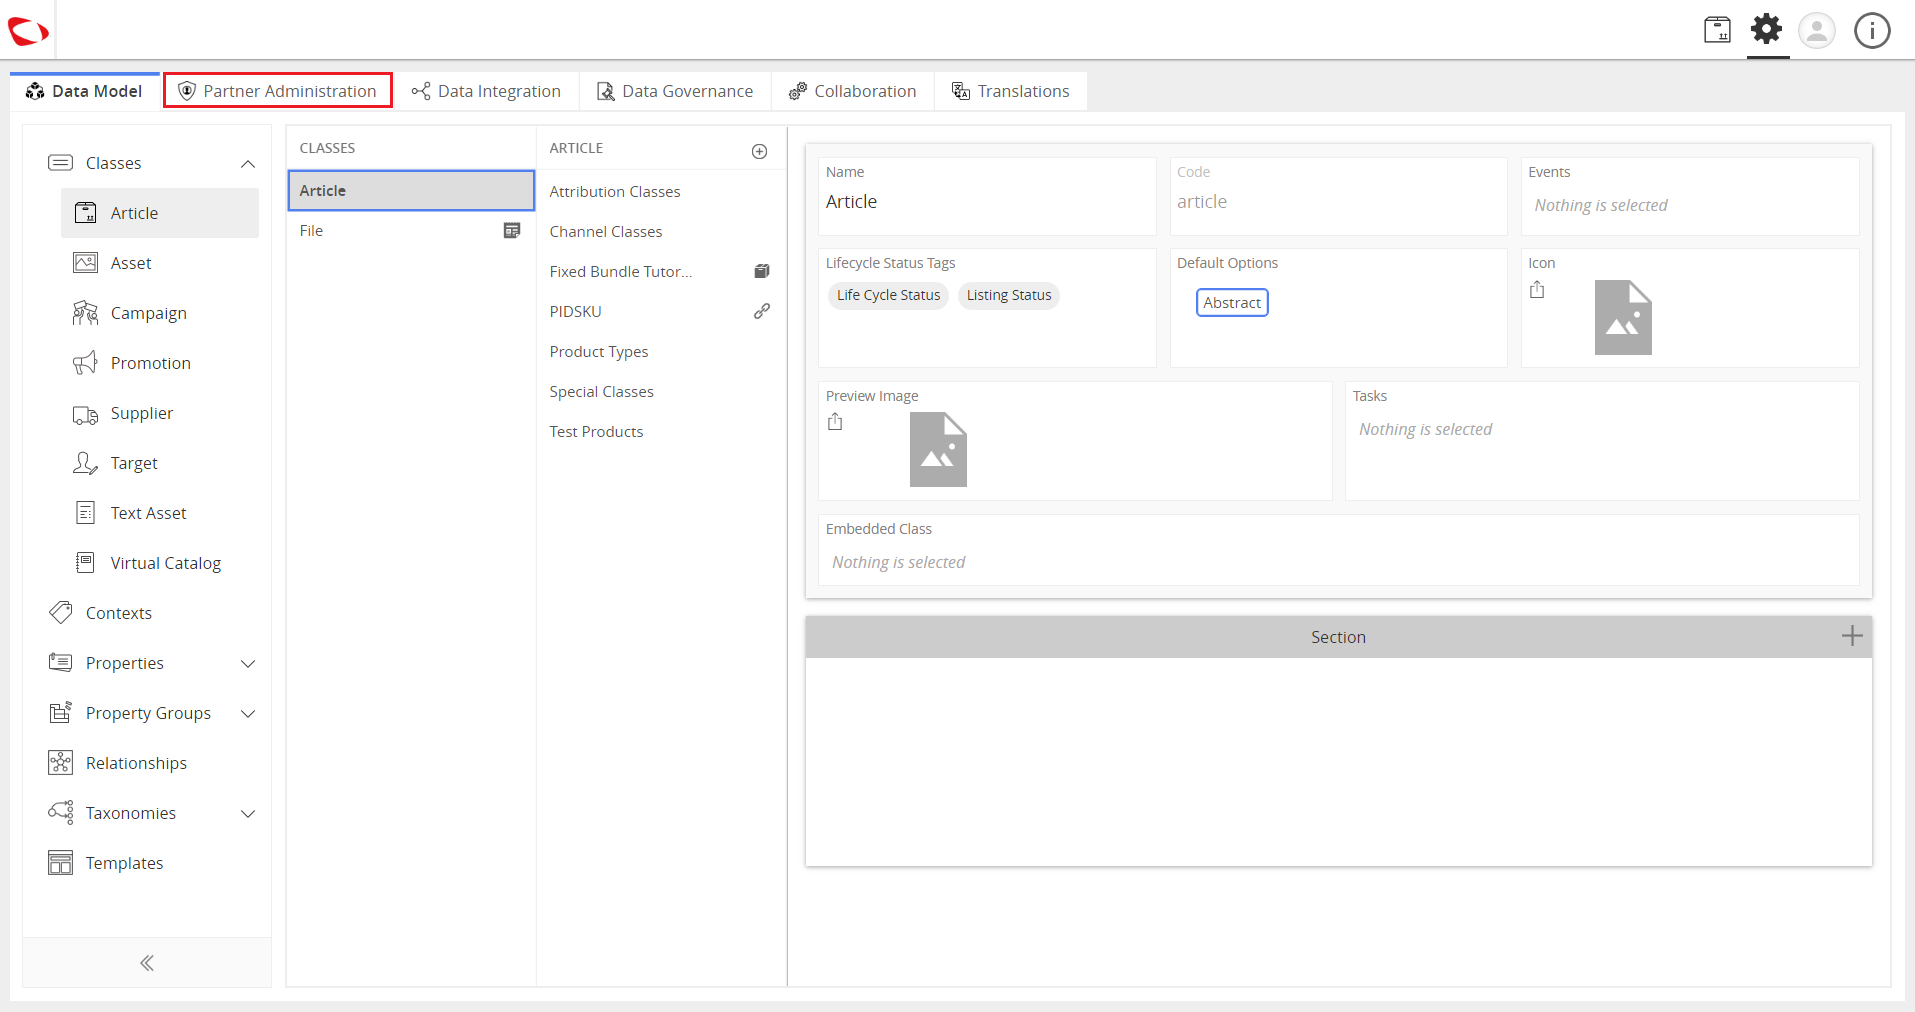
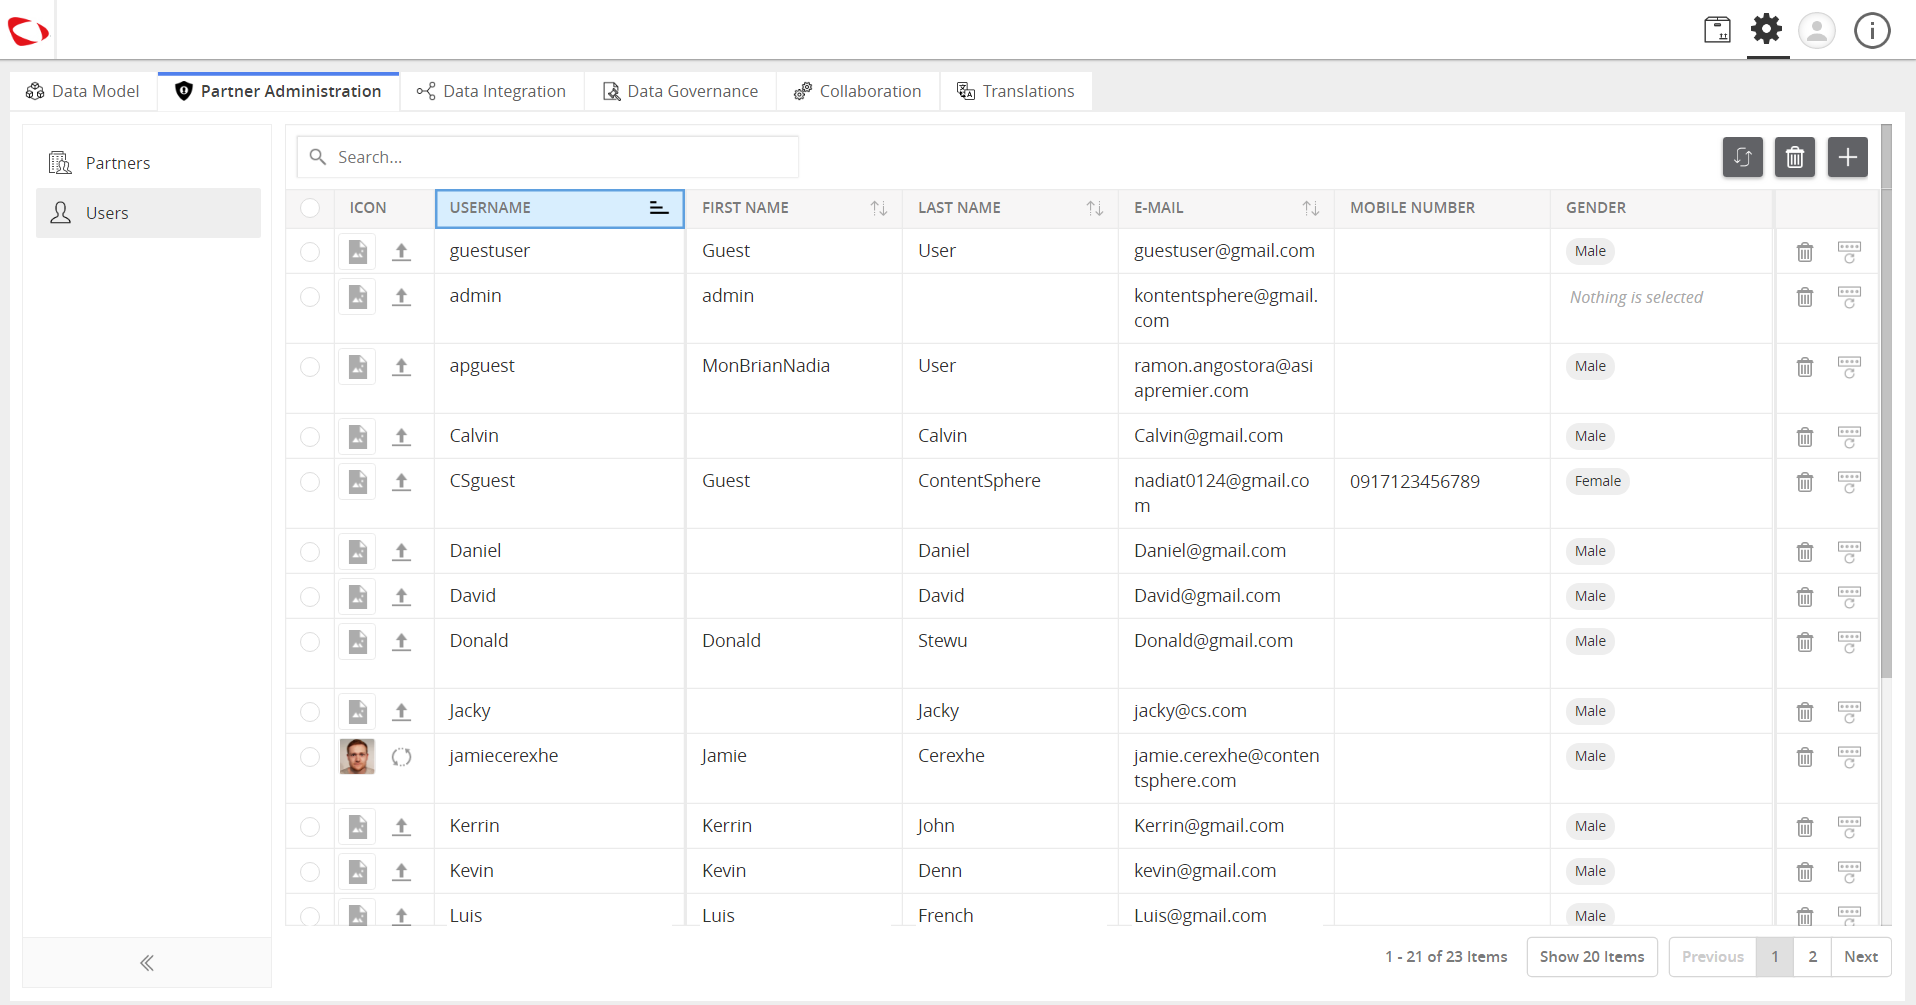
    • Go to Partner Administration tab.
    ../../../../../_images/cs_manageroleaccesstoclassandtaxonomies_gotopartneradmin.PNG


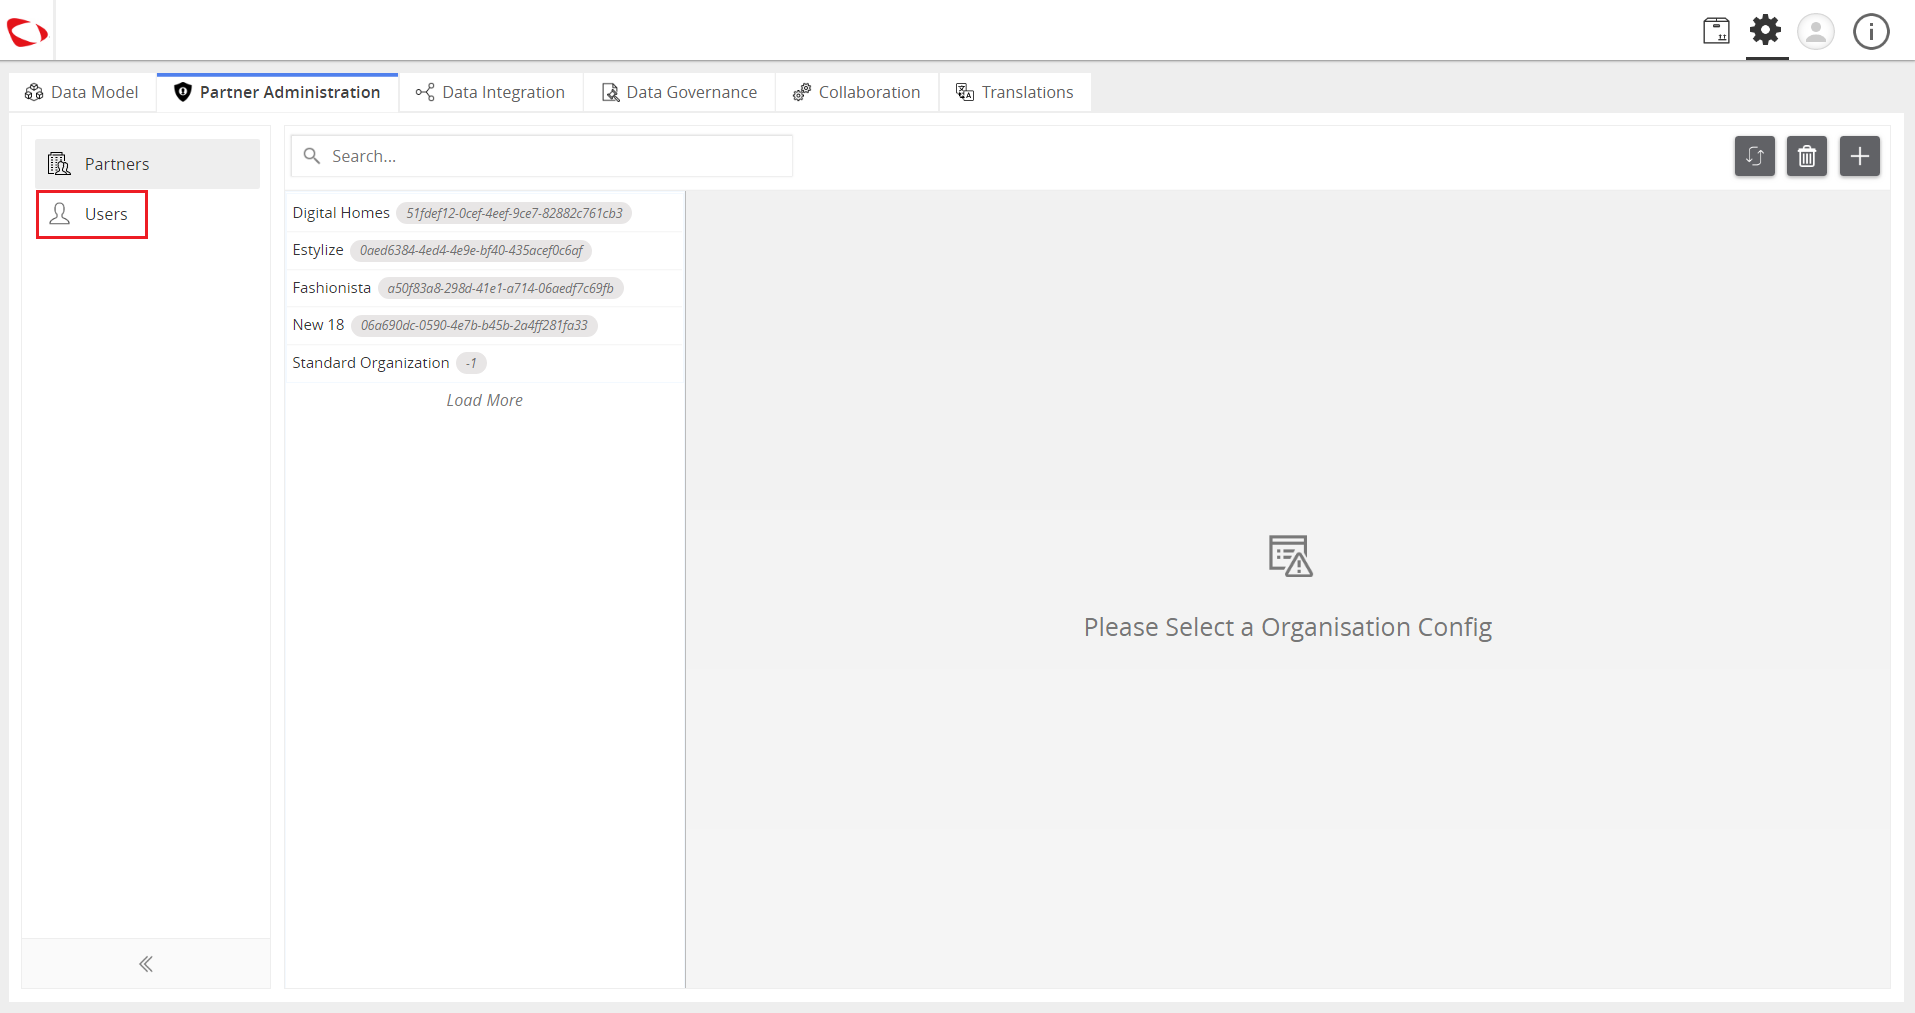
    • Click on Users then click on the “+” icon on the right side of the window.
    ../../../../../_images/cs_manageroleaccesstoclassandtaxonomies_clickusers.PNG


    ../../../../../_images/cs_manageroleaccesstoclassandtaxonomies_clickplus.PNG


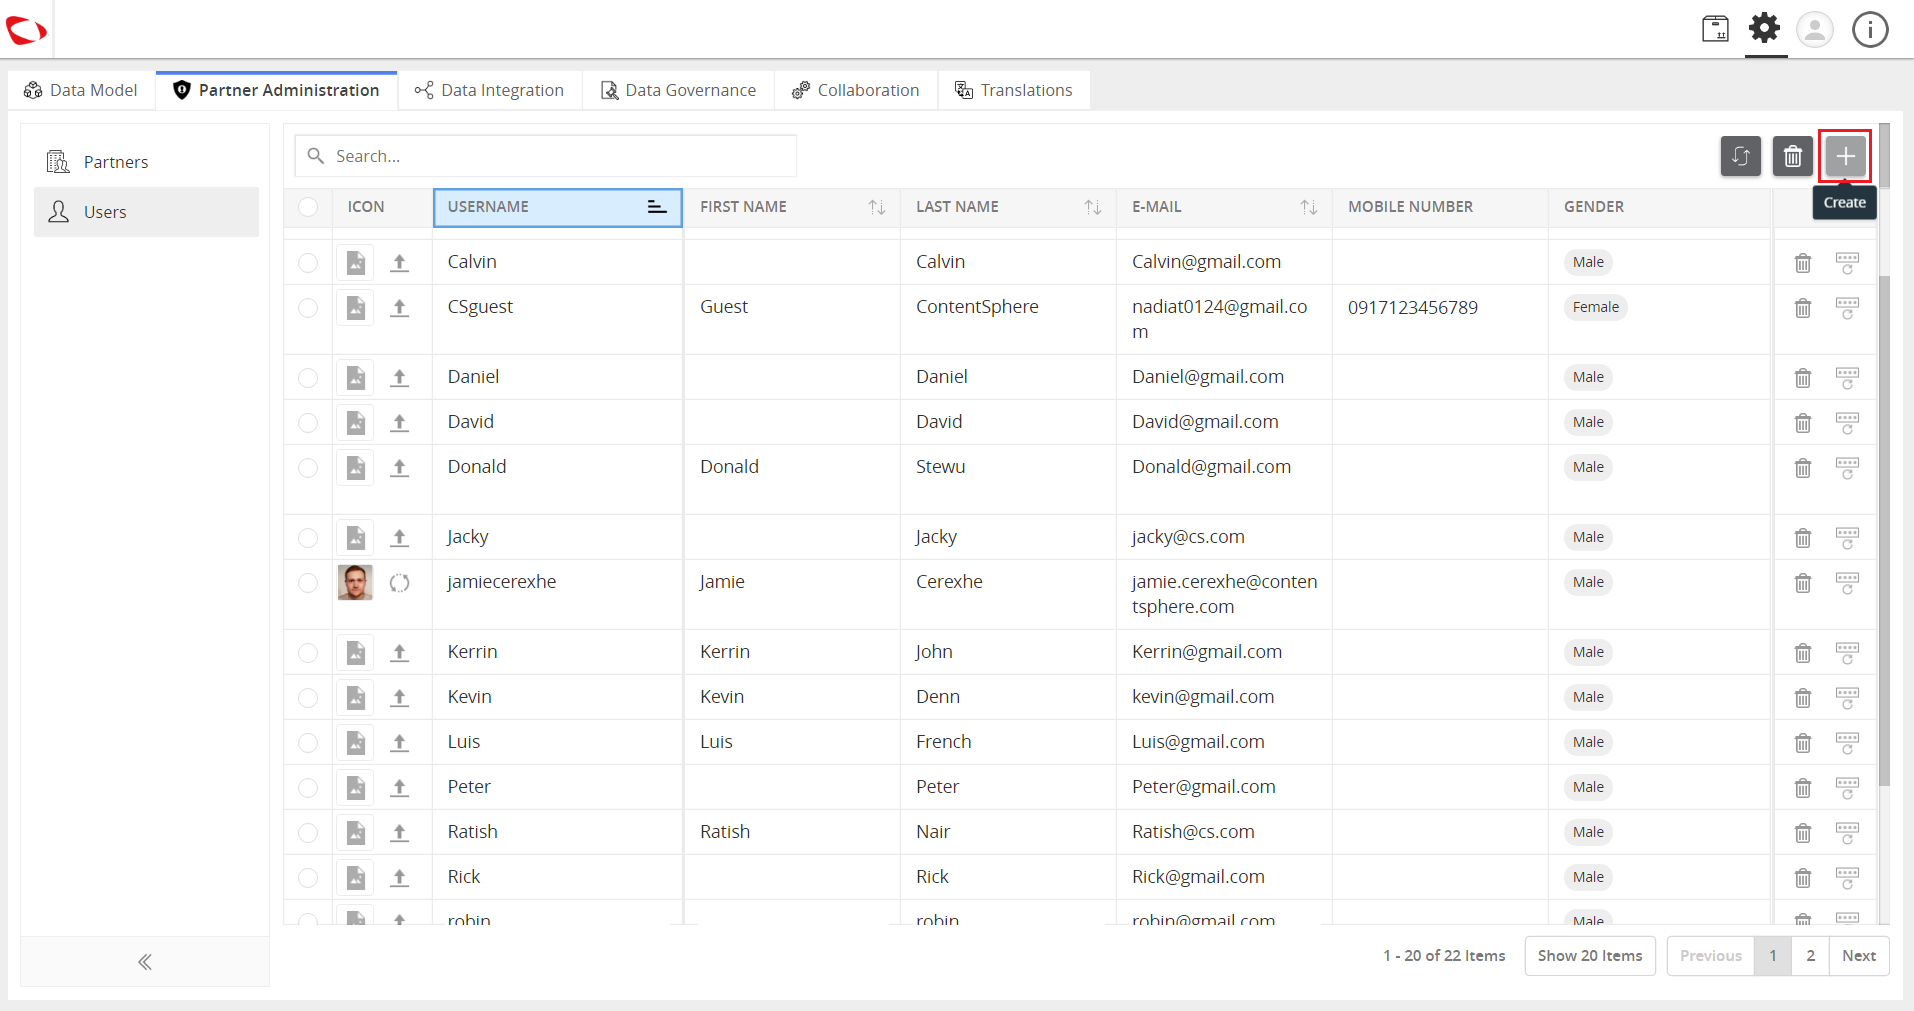
    • Enter the login details.
    ../../../../../_images/cs_manageroleaccesstoclassandtaxonomies_enterlogindetails.PNG


    • Click on the Create button and a user is created.
    ../../../../../_images/cs_manageroleaccesstoclassandtaxonomies_cliukreate.PNG


  2. Create Partners (Organization).

    • Click on Partners then click on the “+” icon on the right side of the window.
    ../../../../../_images/cs_manageroleaccesstoclassandtaxonomies_clickpartners.PNG


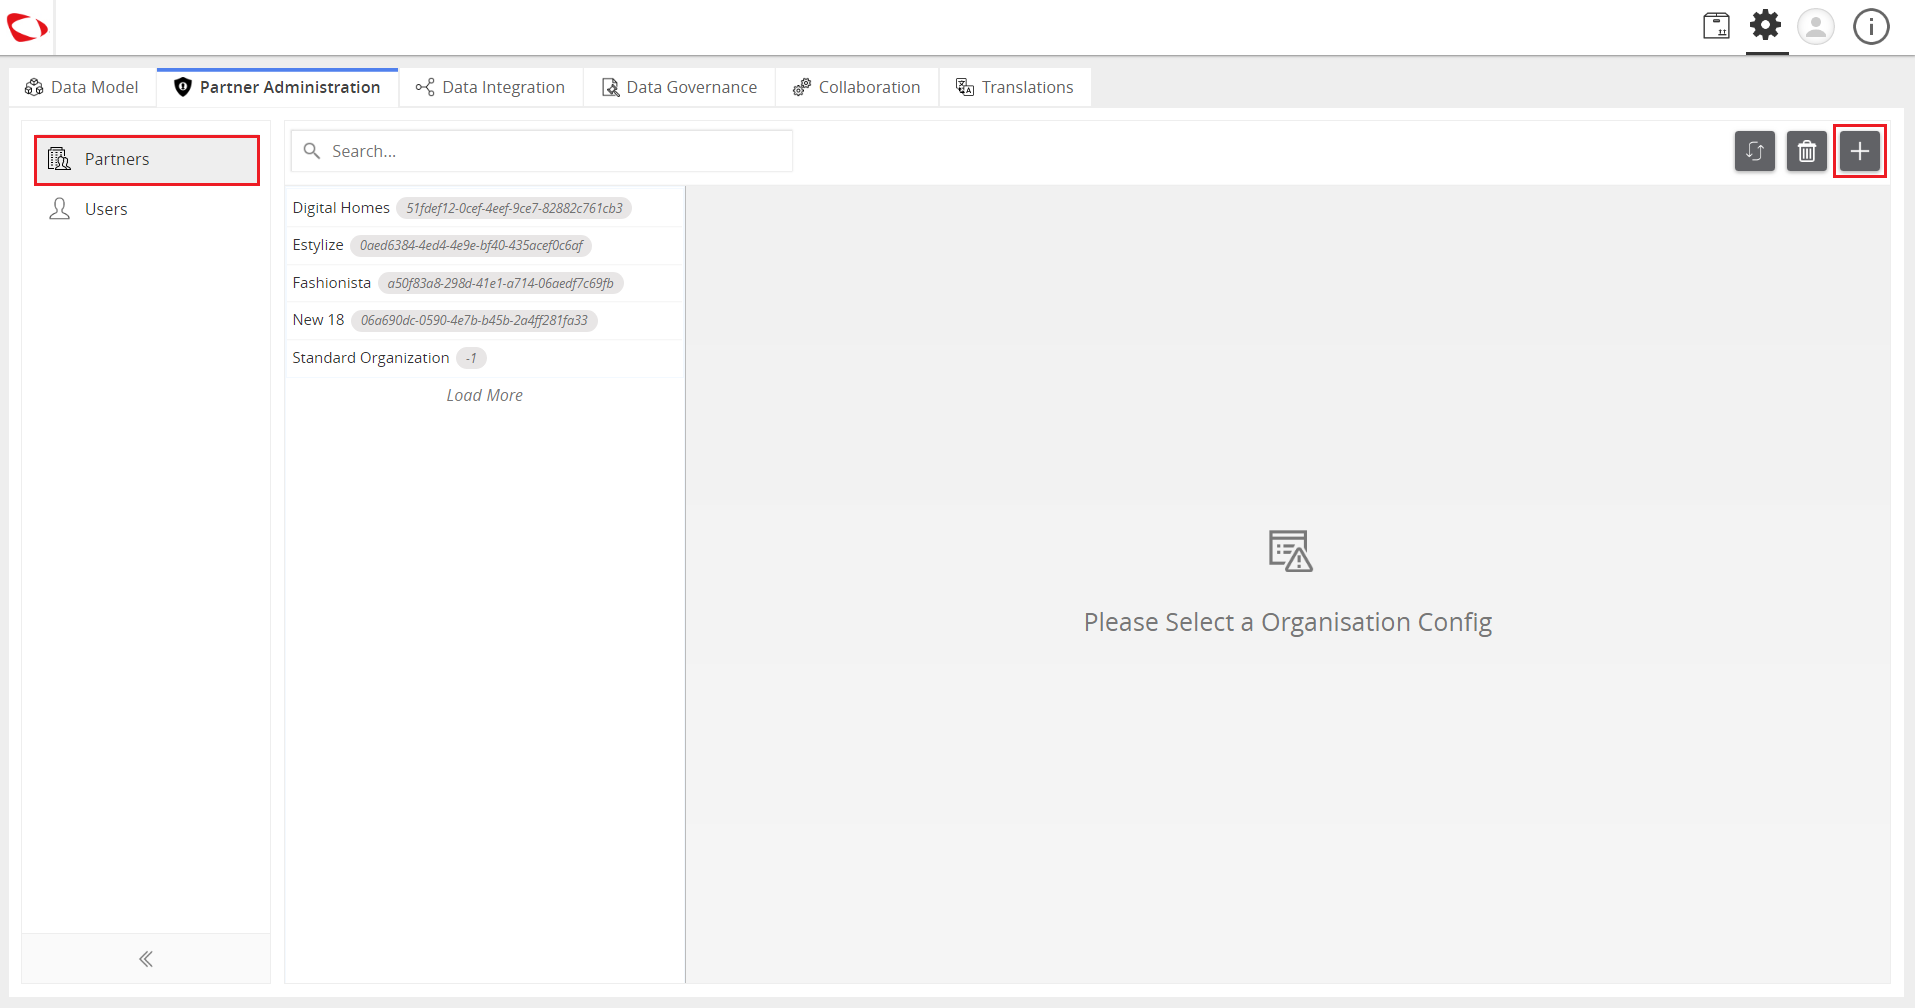
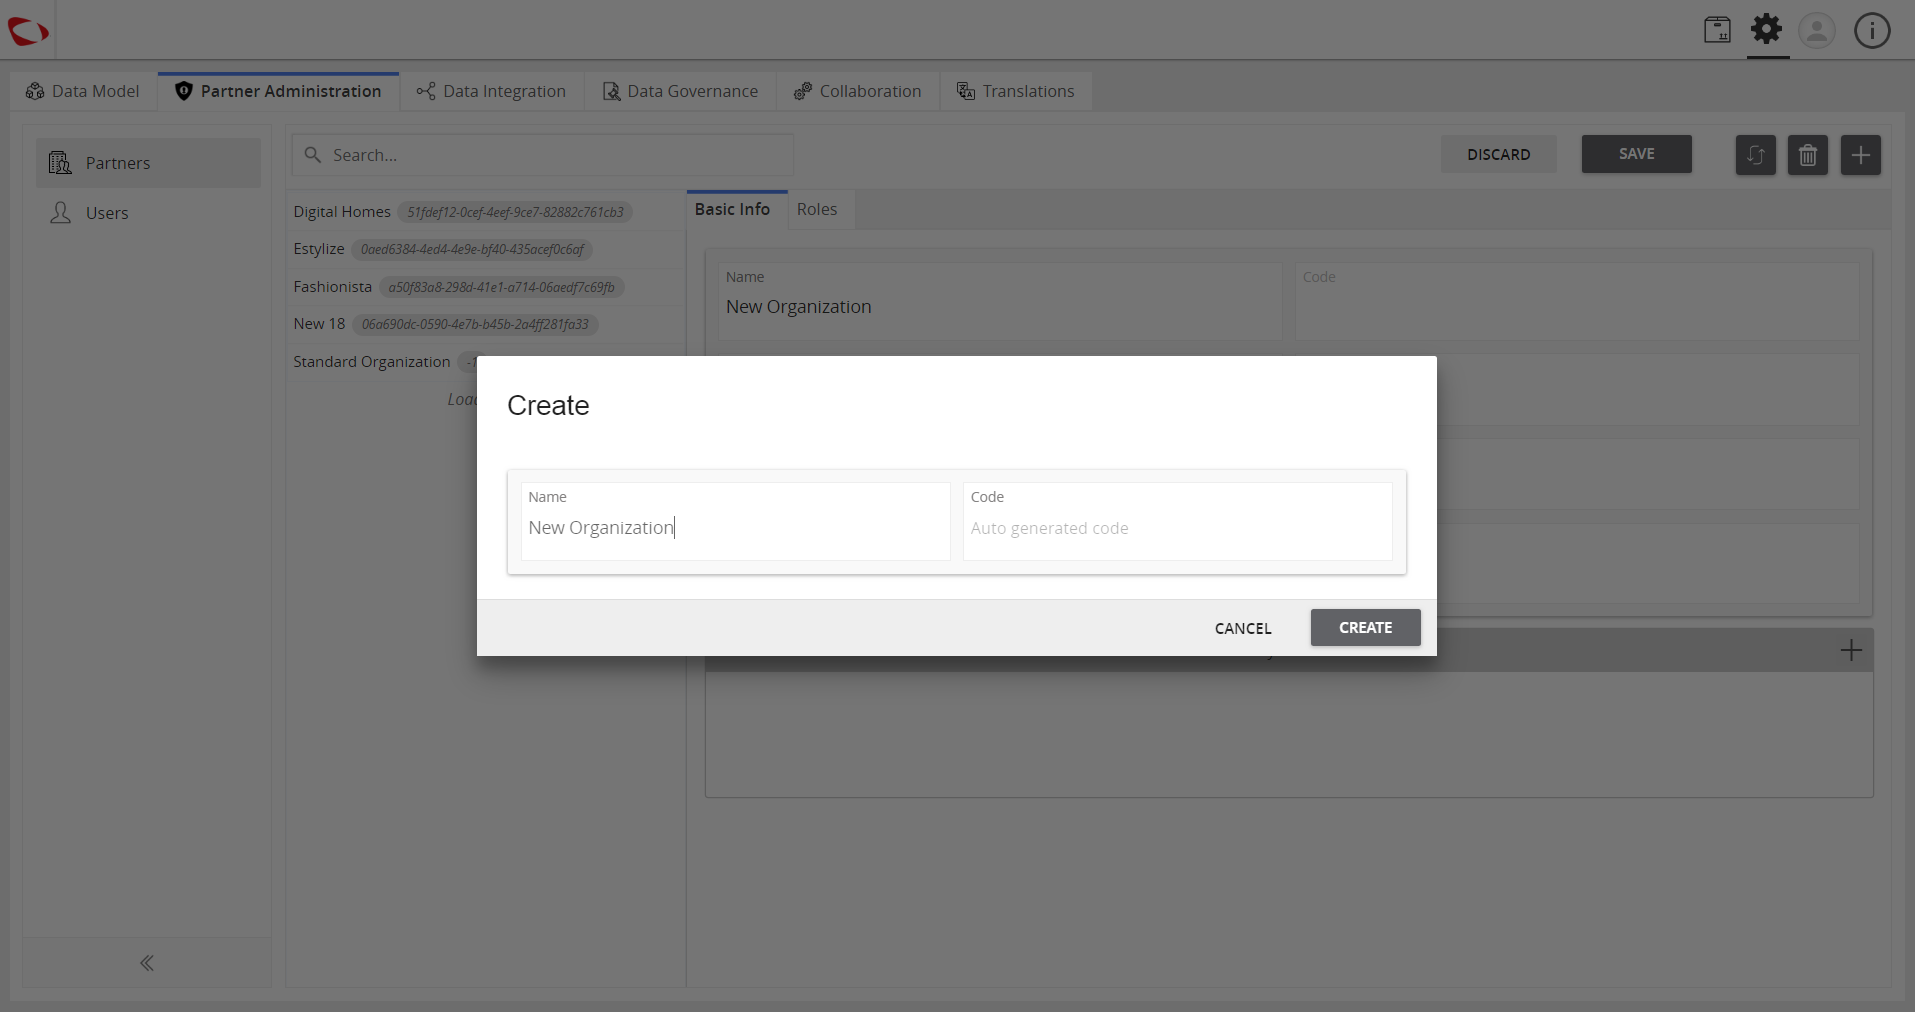
    • Enter the name and click on the Create button.
    ../../../../../_images/cs_manageroleaccesstoclassandtaxonomies_entername.PNG


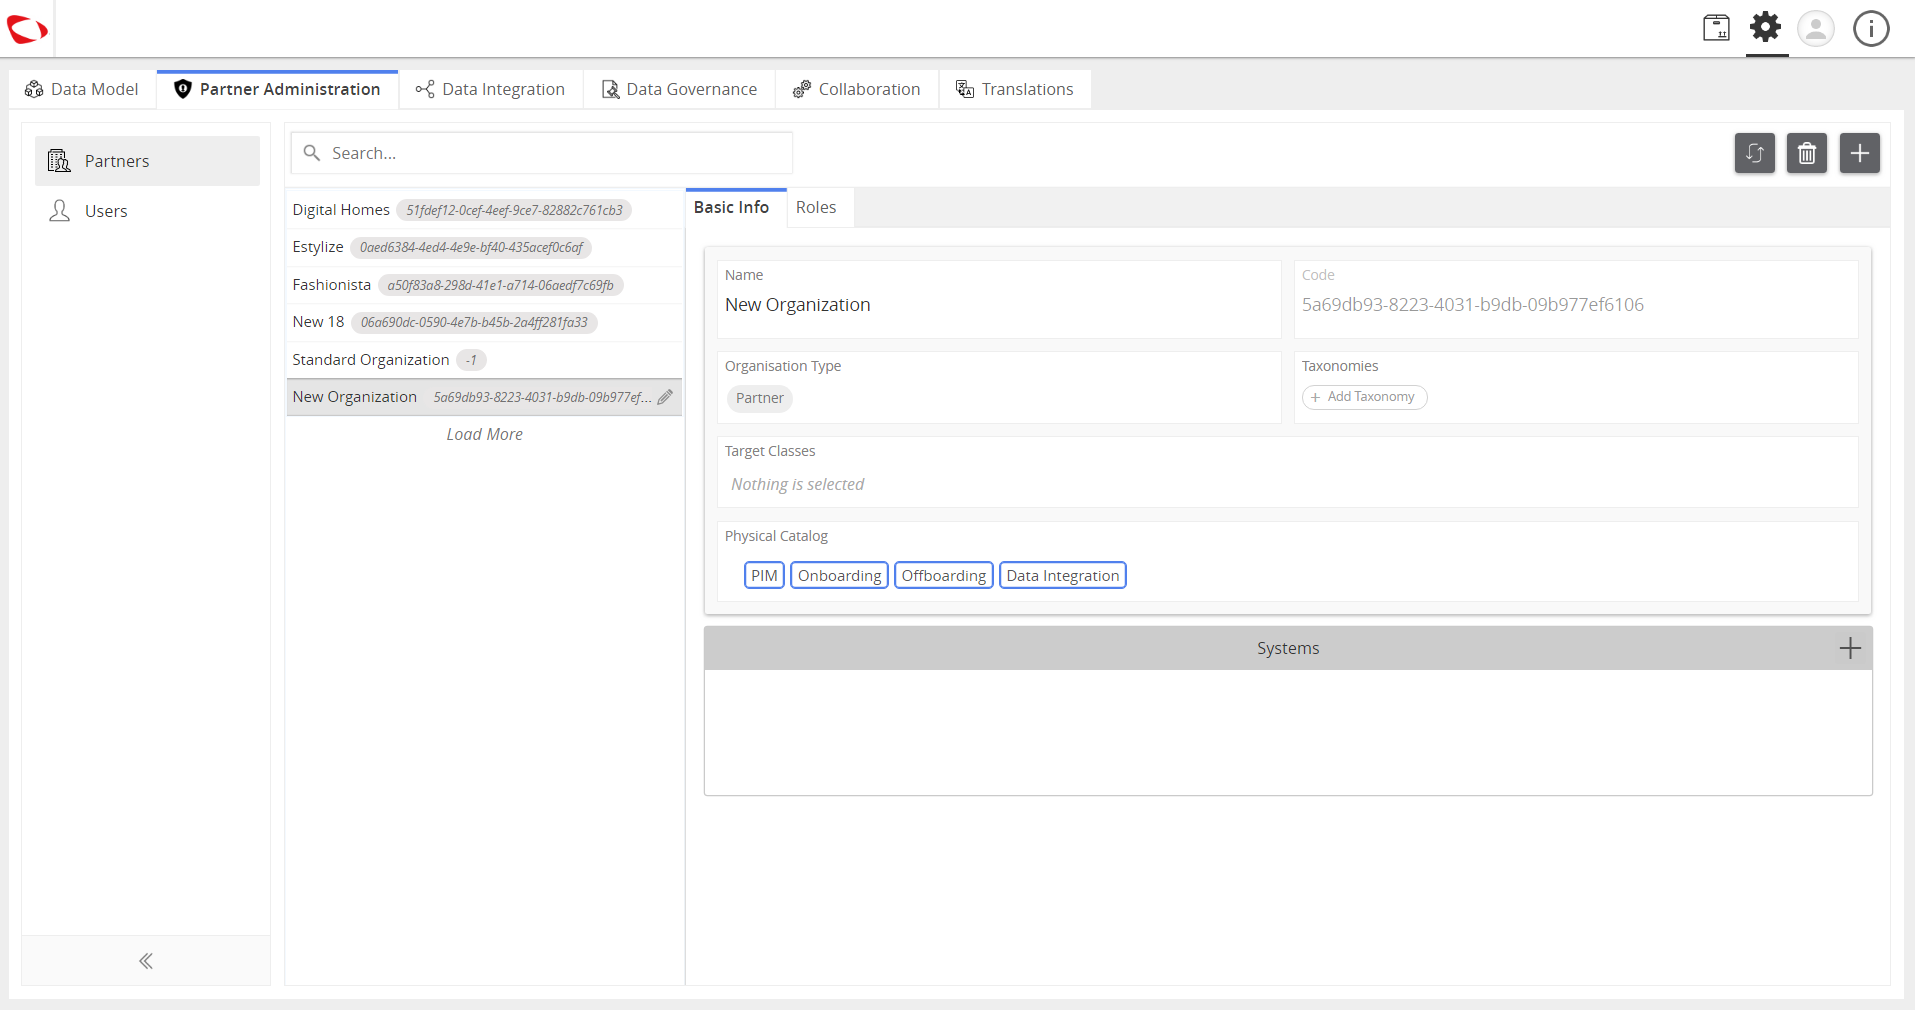
    • View the created organization.
    ../../../../../_images/cs_manageroleaccesstoclassandtaxonomies_viewcreatedorganization.PNG


  3. Add roles to the users in the organization.

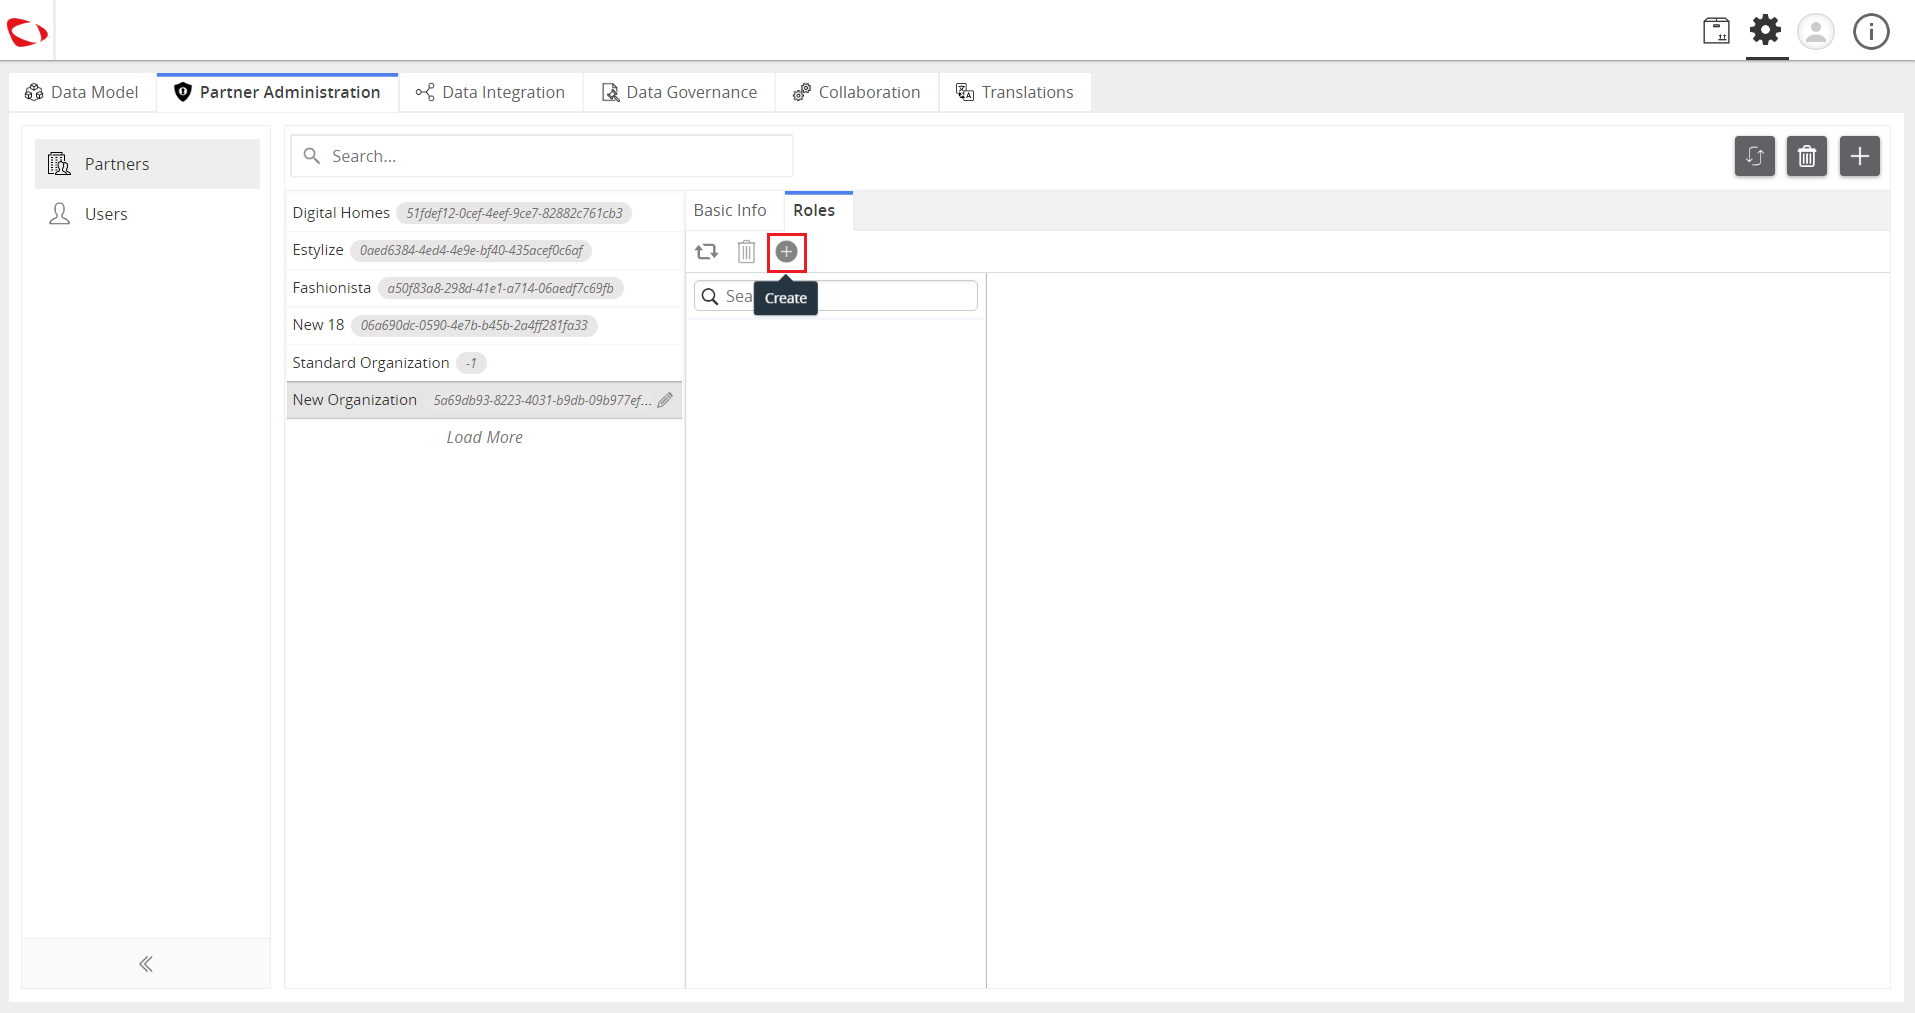
    • Click on the Roles tab
    ../../../../../_images/cs_manageroleaccesstoclassandtaxonomies_clickroles.PNG


    • Click on the “+” sign just below the Roles tab to assign roles.
    ../../../../../_images/cs_manageroleaccesstoclassandtaxonomies_clickplussign.PNG


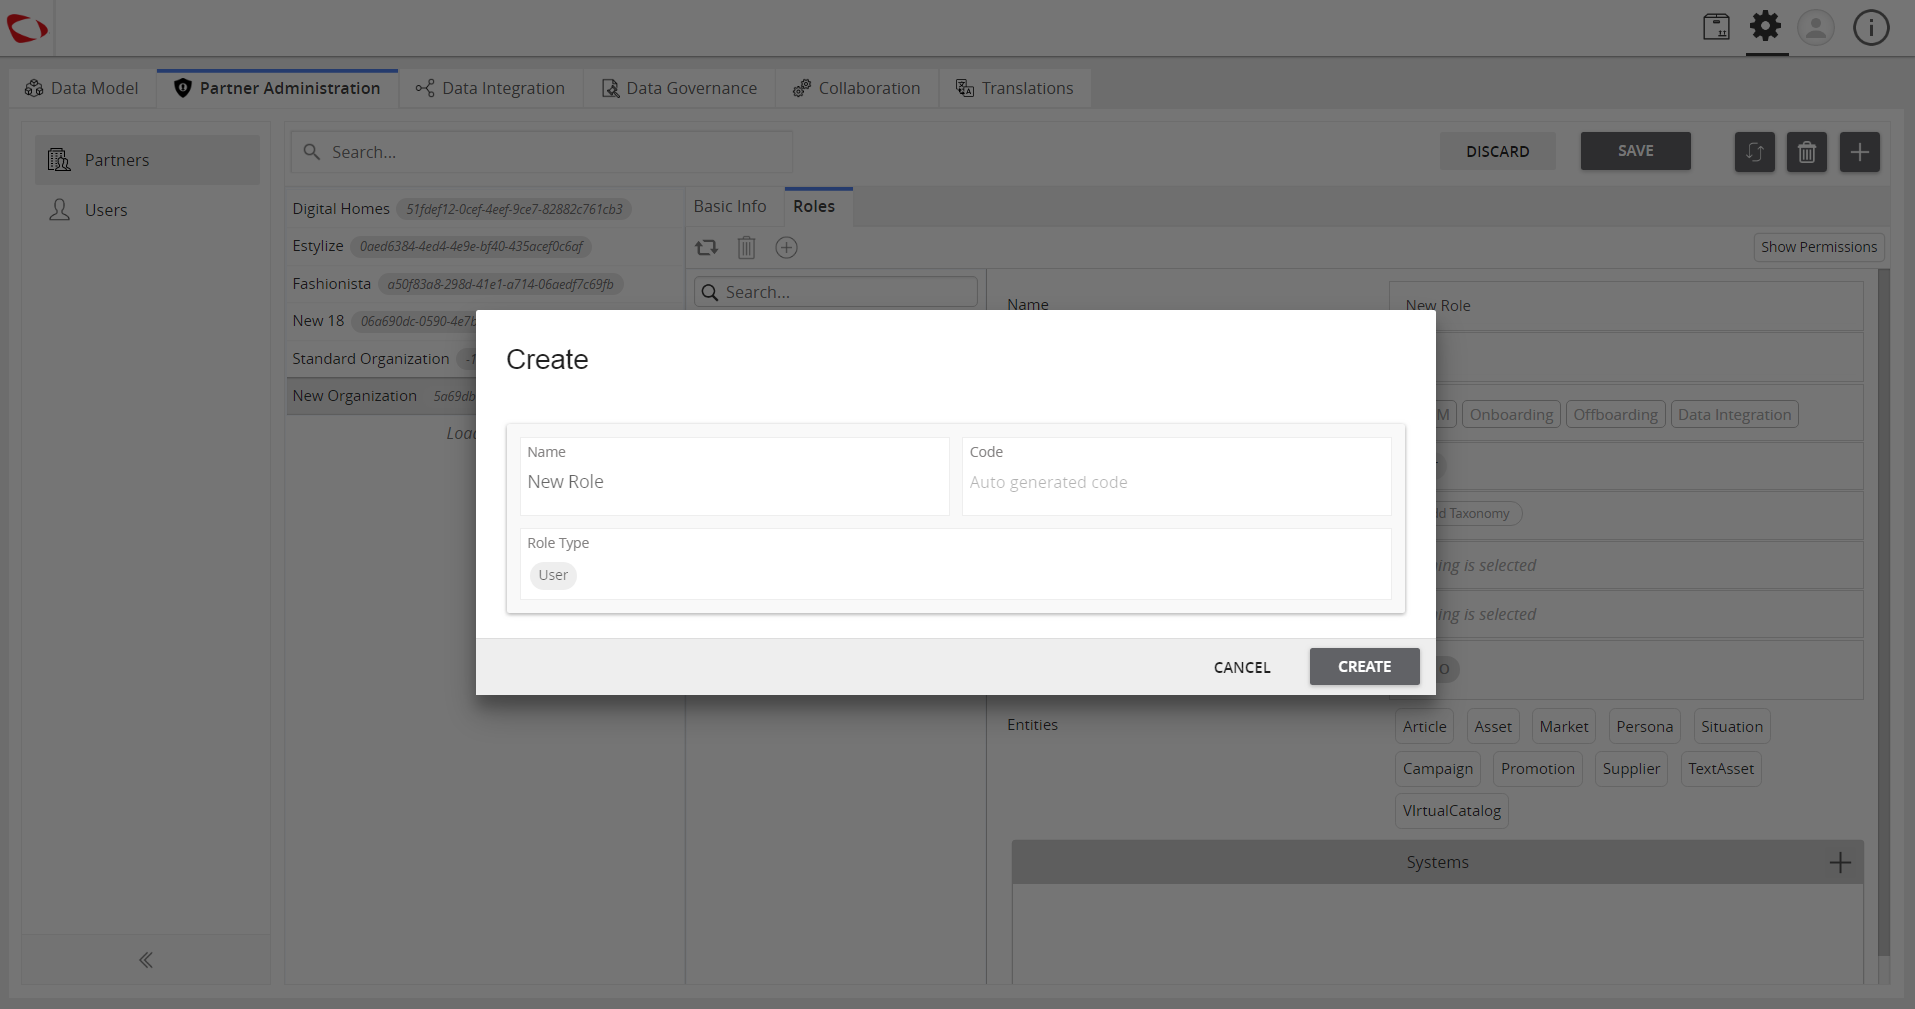
    • Enter the name and select the role type then click on the Create button.
    ../../../../../_images/cs_manageroleaccesstoclassandtaxonomies_selectroletype.PNG


    • Select the target class that you want the user to have access to.
    ../../../../../_images/cs_manageroleaccesstoclassandtaxonomies_selecttargetclass.PNG


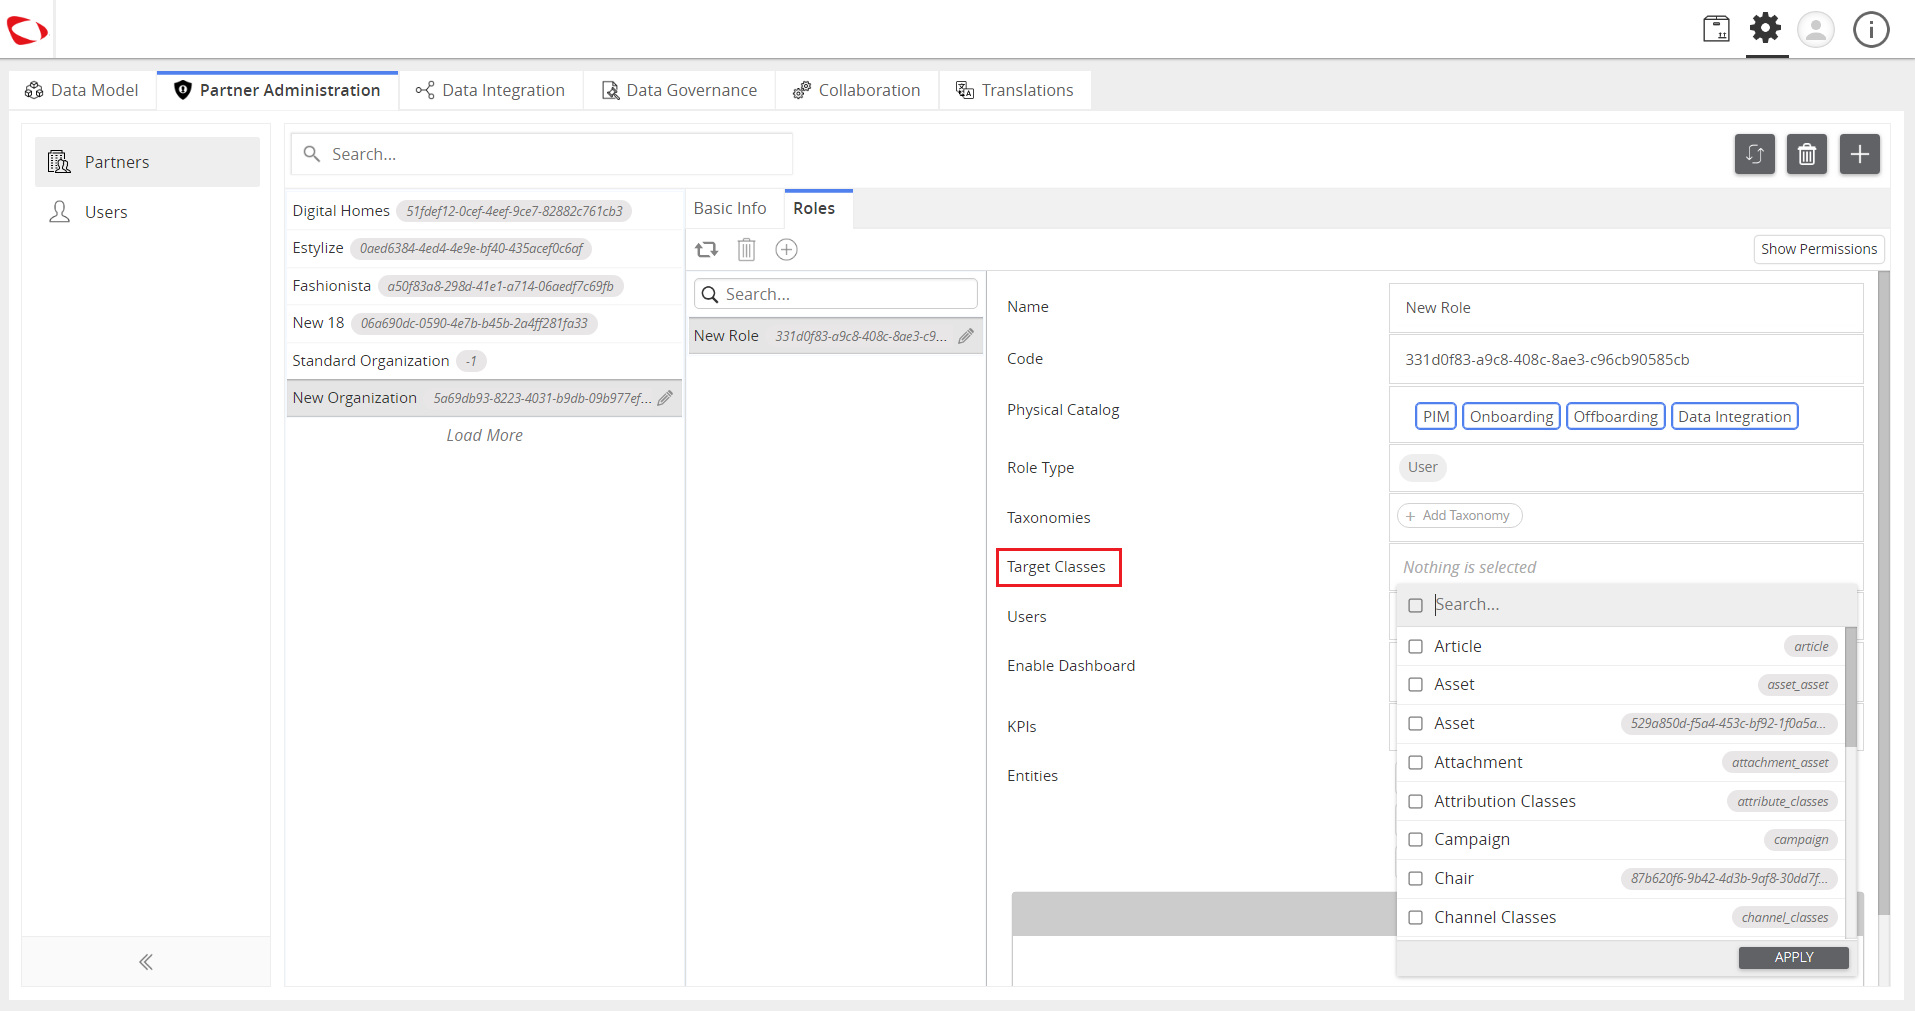
    • Select the taxonomy to further categorize the products.
    ../../../../../_images/cs_manageroleaccesstoclassandtaxonomies_selecttaxonomy.PNG


    Note: If no class or taxonomy is selected, the user has access to all the classes and taxonomies.


  1. Log in as the user to view the products assigned to you.
../../../../../_images/cs_manageroleaccesstoclassandtaxonomies_loginasuser.PNG

../../../../../_images/cs_manageroleaccesstoclassandtaxonomies_loginasuser2.PNG


Contentserv line

Last updated: Jul 27, 2018