Help Center

Manage Endpoints for a System

Manage Endpoints for a System is an admin feature that manages endpoints in the system that are used for onboarding or offboarding of products.

Key Term:
  • Endpoint: is a gateway that describes the system, process, and mapping to be used when onboarding or offboarding the products to and from the system.
Description:
  • This feature allows the managing of endpoints which are considered gateways of a system, process, or mapping. These gateways are used for the onboarding or offboarding of one or many products in and out of the system.
Related topics:
Application:
  • It helps a user to choose the gateway from the Data Integration window for the importing or exporting of files.
  • It gives a numerical conclusion/summary in the Data Integration window for the different aspects that the endpoint has been used for.

How-to: Manage Endpoints for a System

To manage the endpoints, follow these steps:


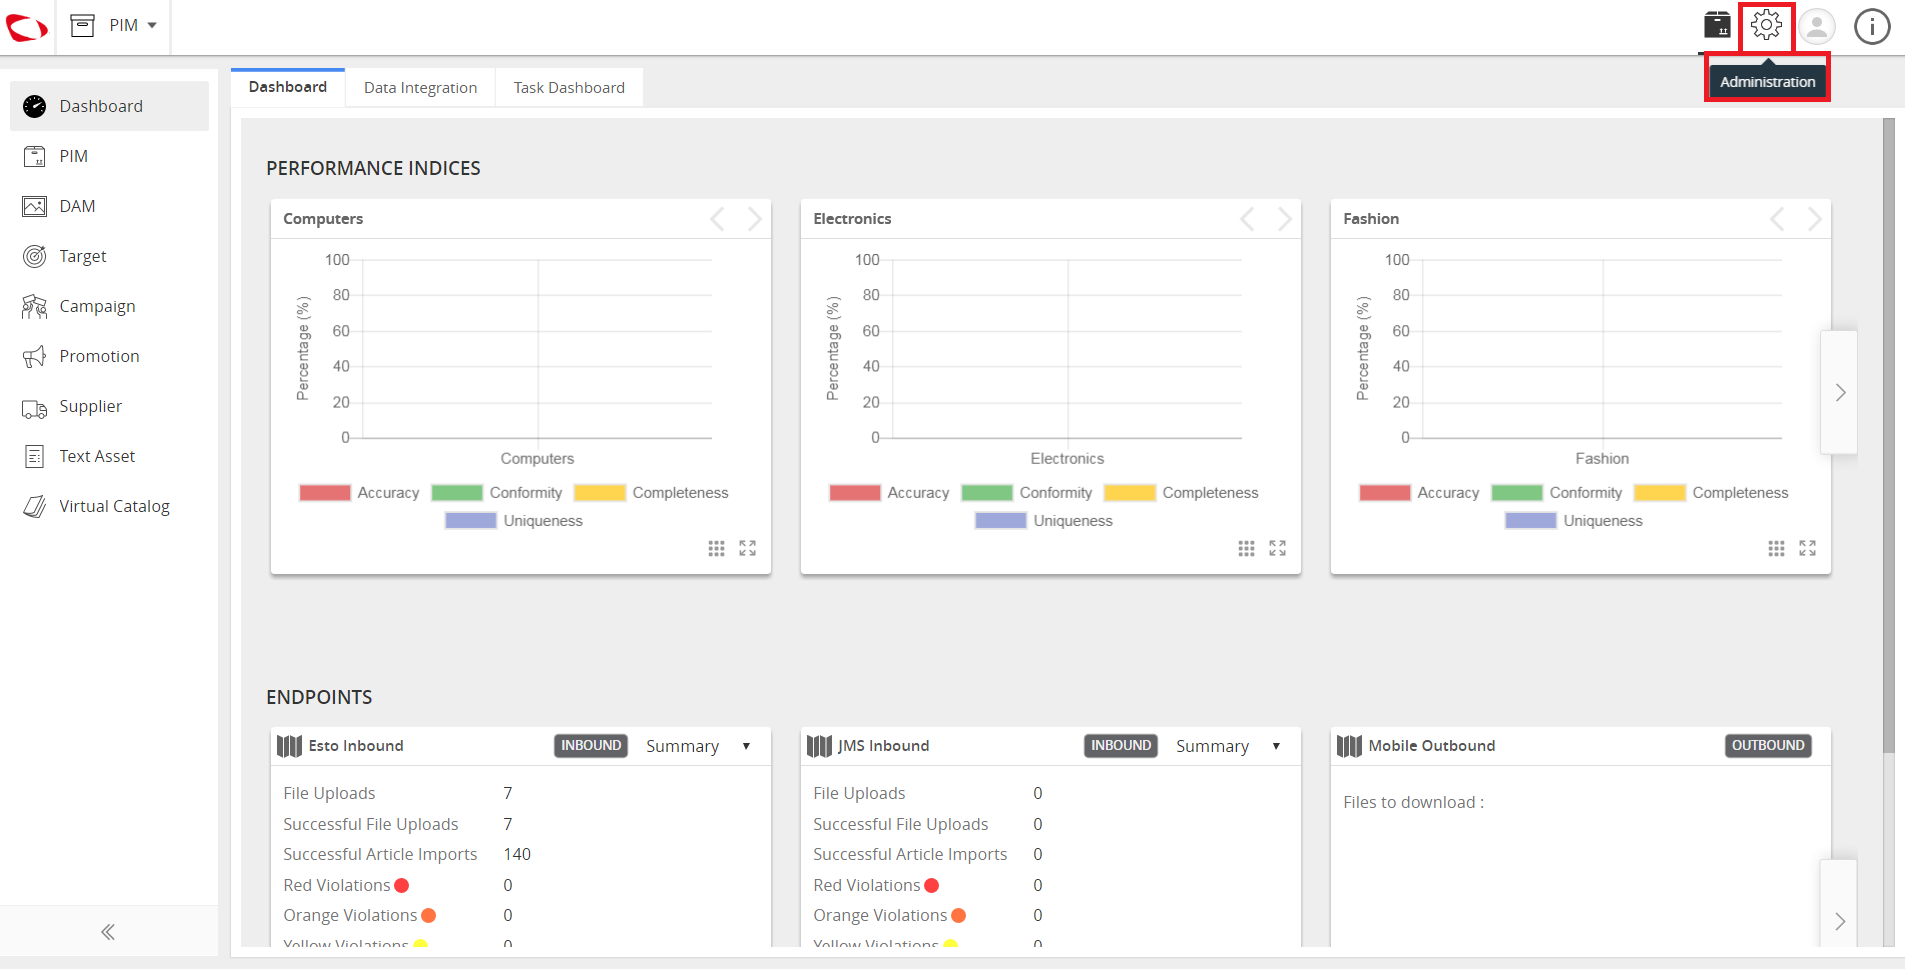
  1. Log in and go to Administration.
../../../../../_images/cs_systemprofilesetupandmanageendpoints_login.PNG


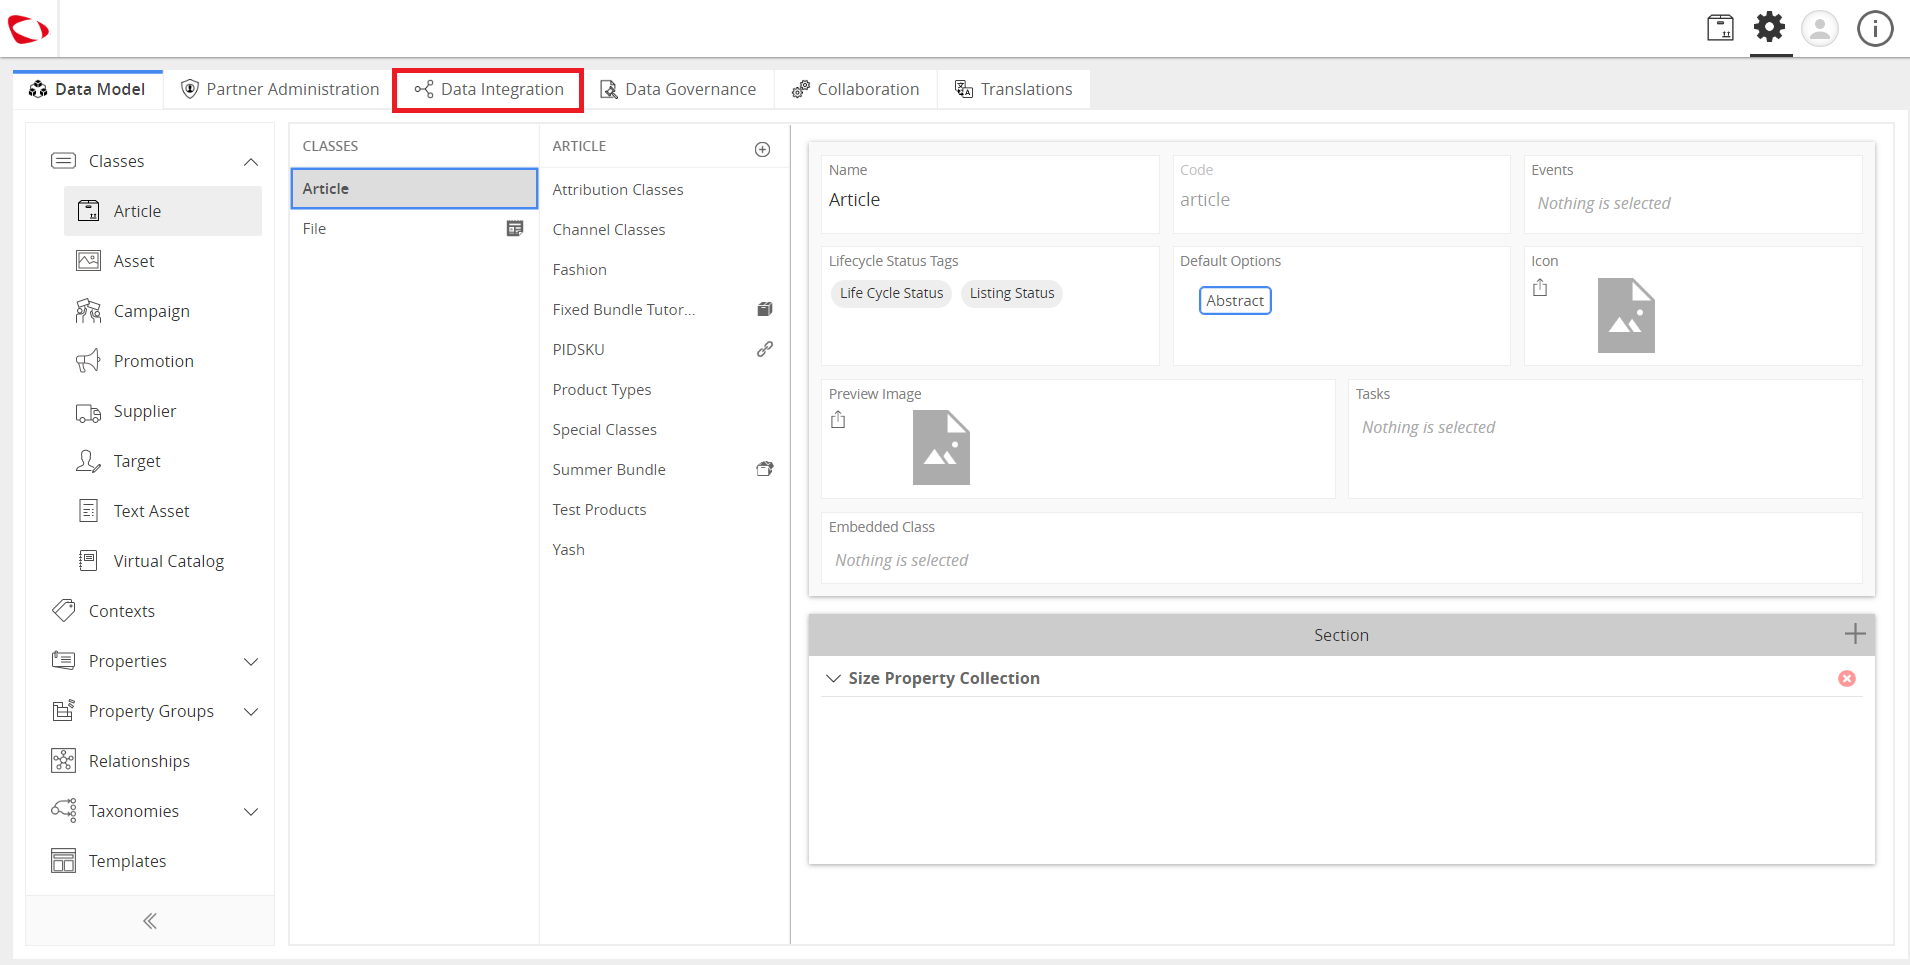
  1. Click on the Data Integration tab and then go to Endpoints.
../../../../../_images/cs_systemprofilesetupandmanageendpoints_clickondataintegration.PNG

../../../../../_images/cs_systemprofilesetupandmanageendpoints_clickondataintegration2.PNG


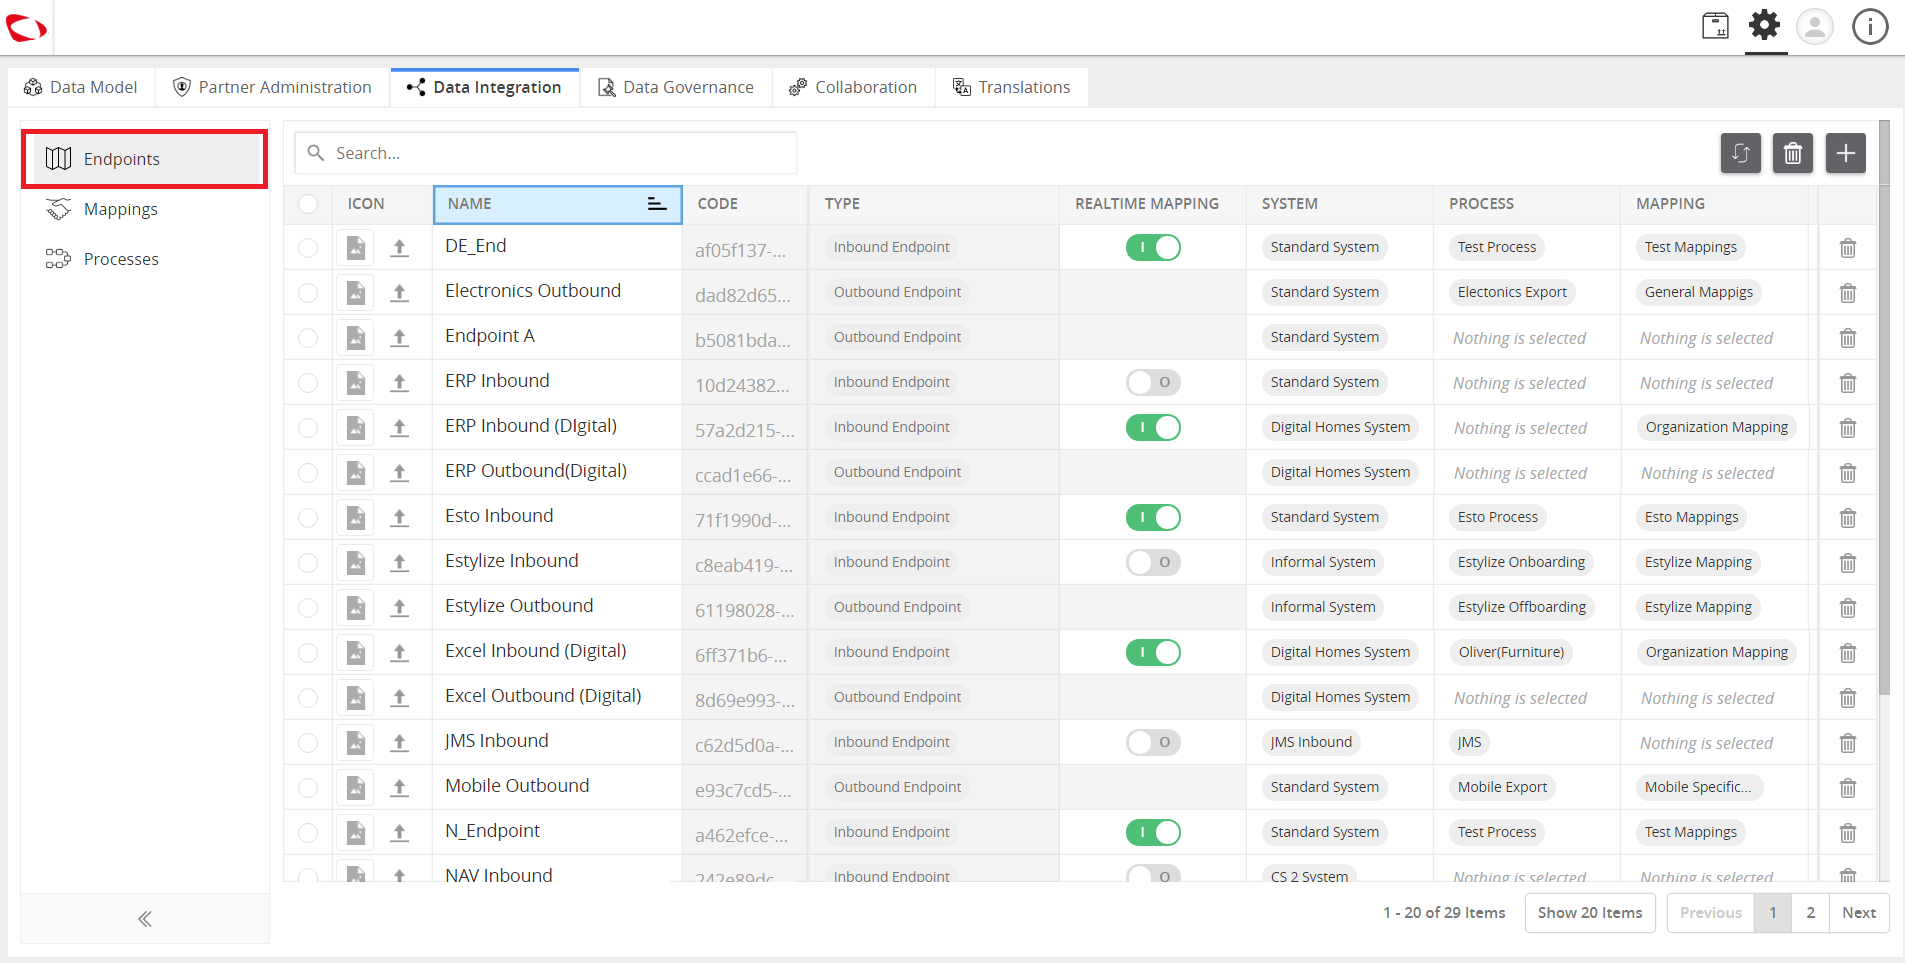
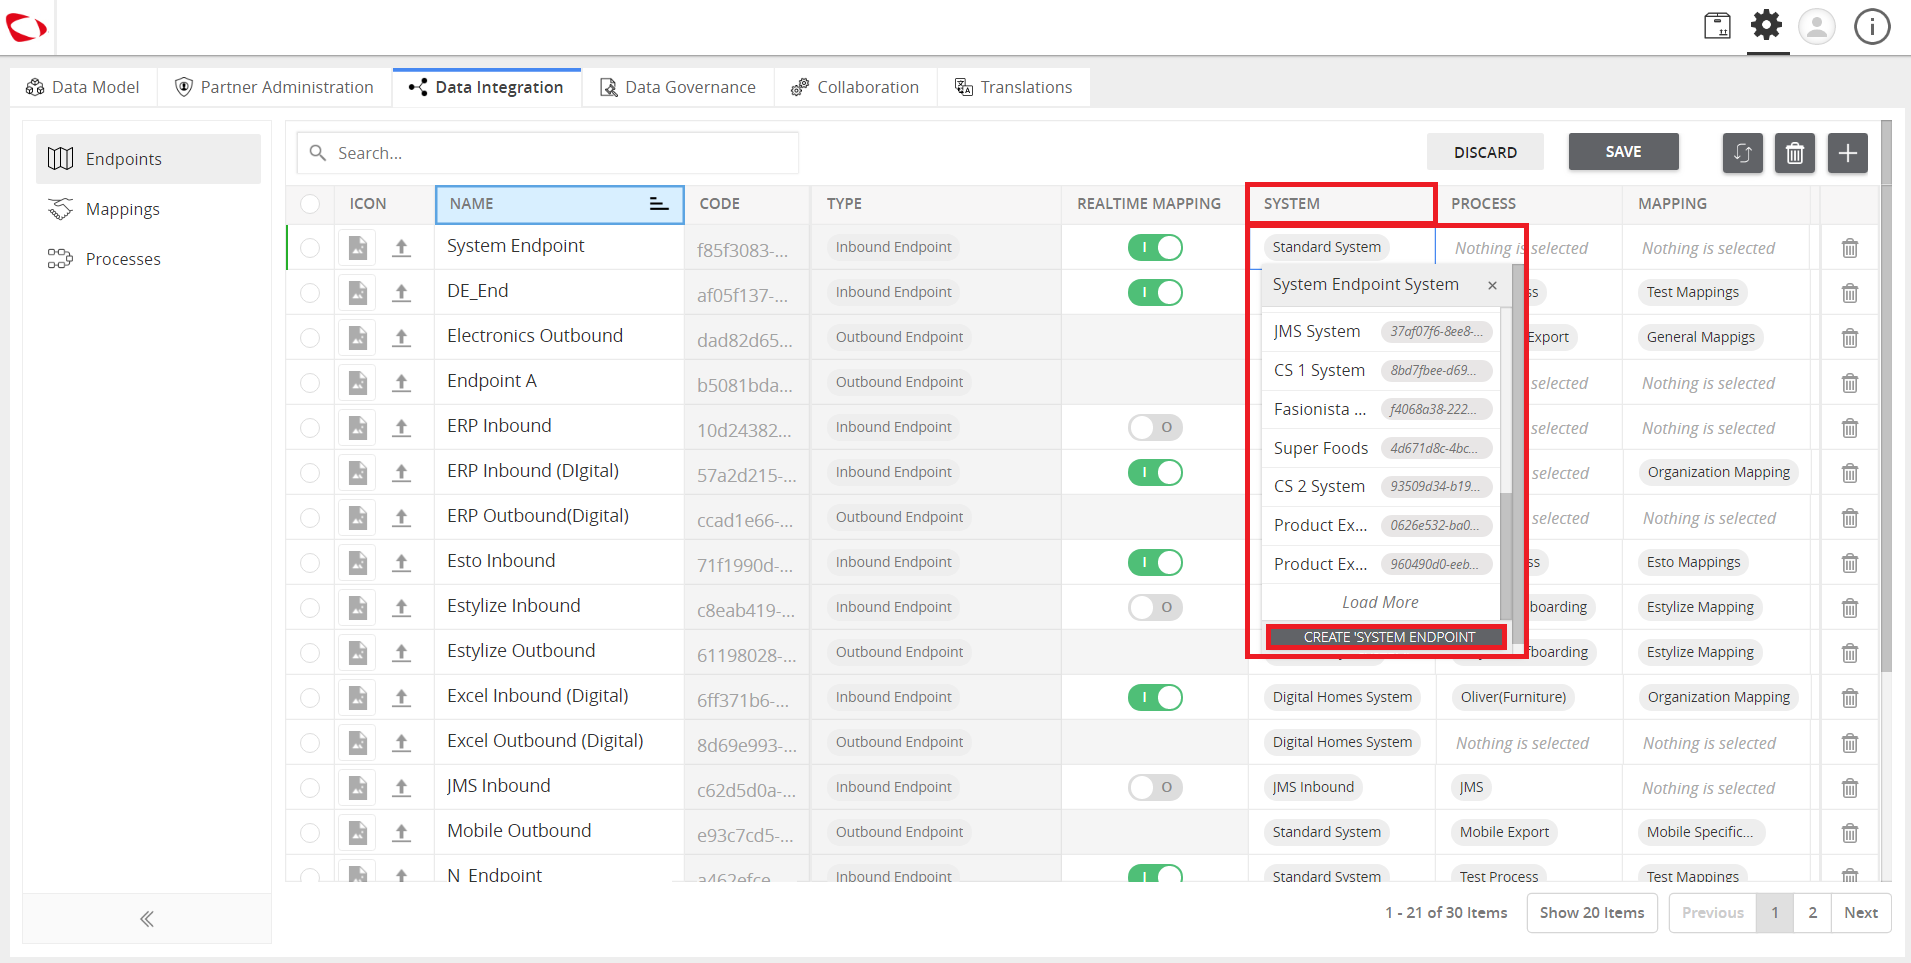
  1. On the right, click on the “+” icon to create a new endpoint.
../../../../../_images/cs_systemprofilesetupandmanageendpoints_ontherightclickontheicon.PNG


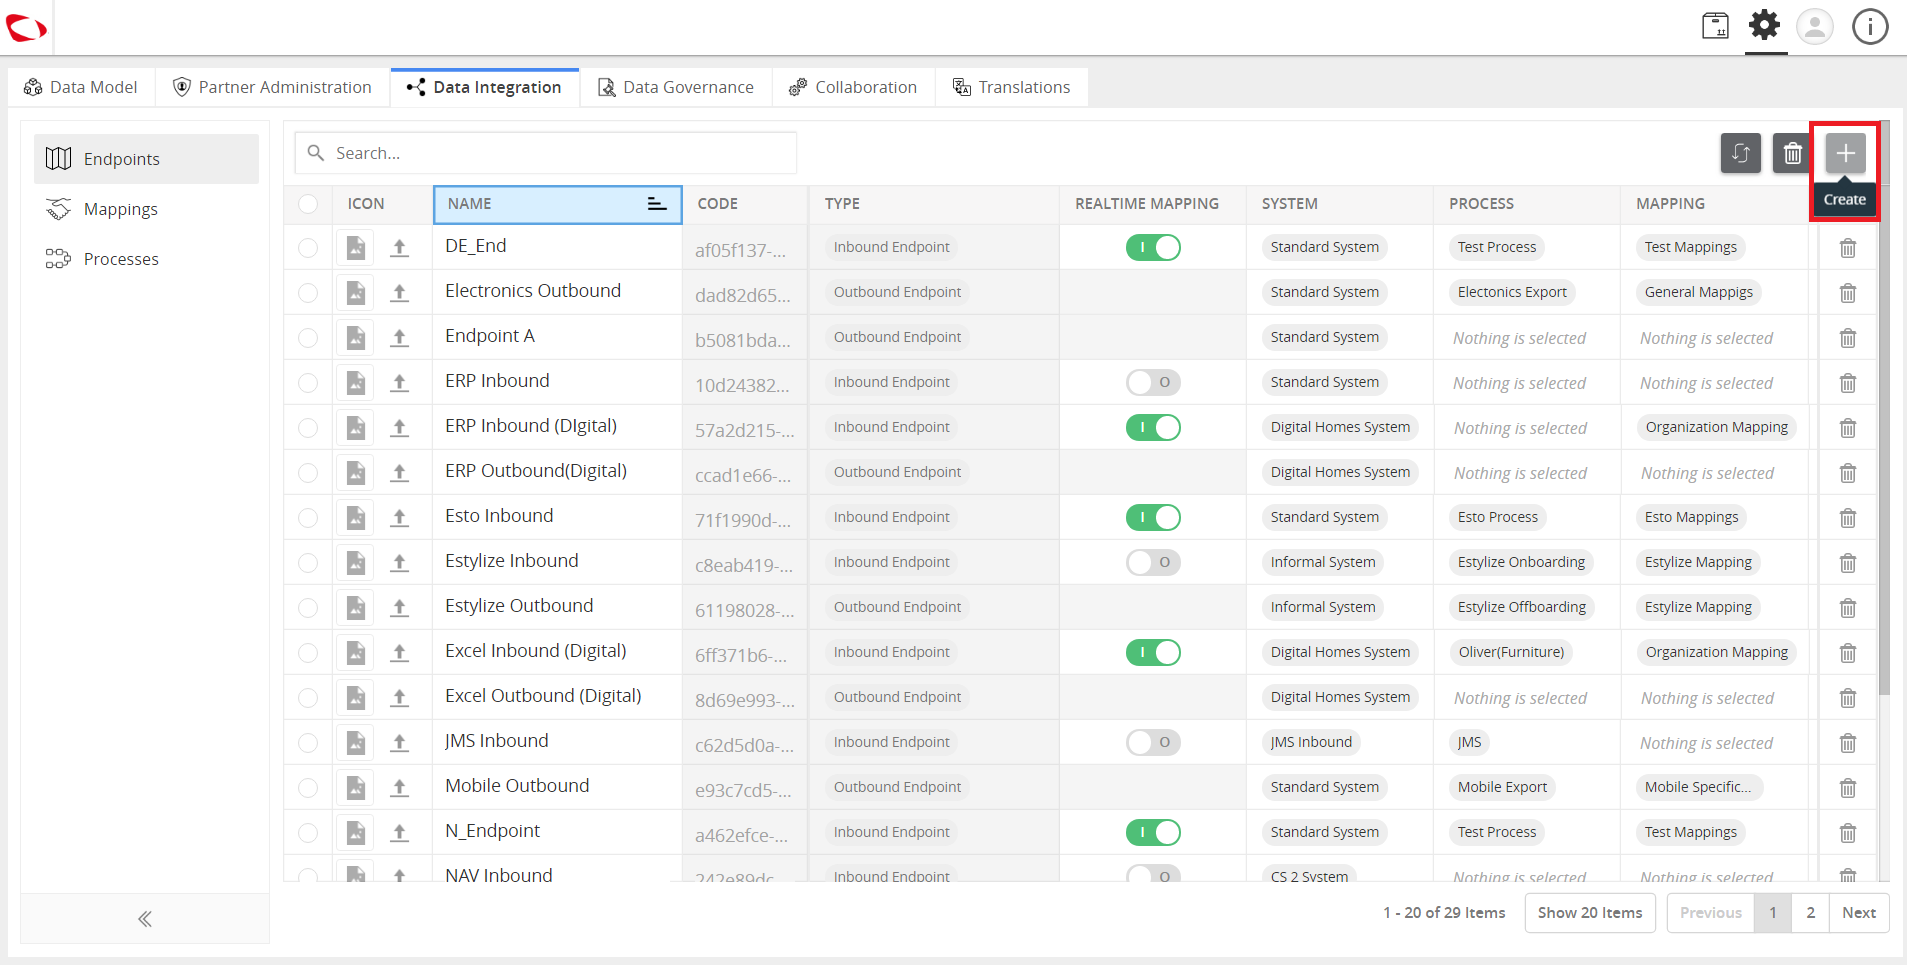
  1. Provide the required details.
../../../../../_images/cs_systemprofilesetupandmanageendpoints_providetherequireddetails.PNG


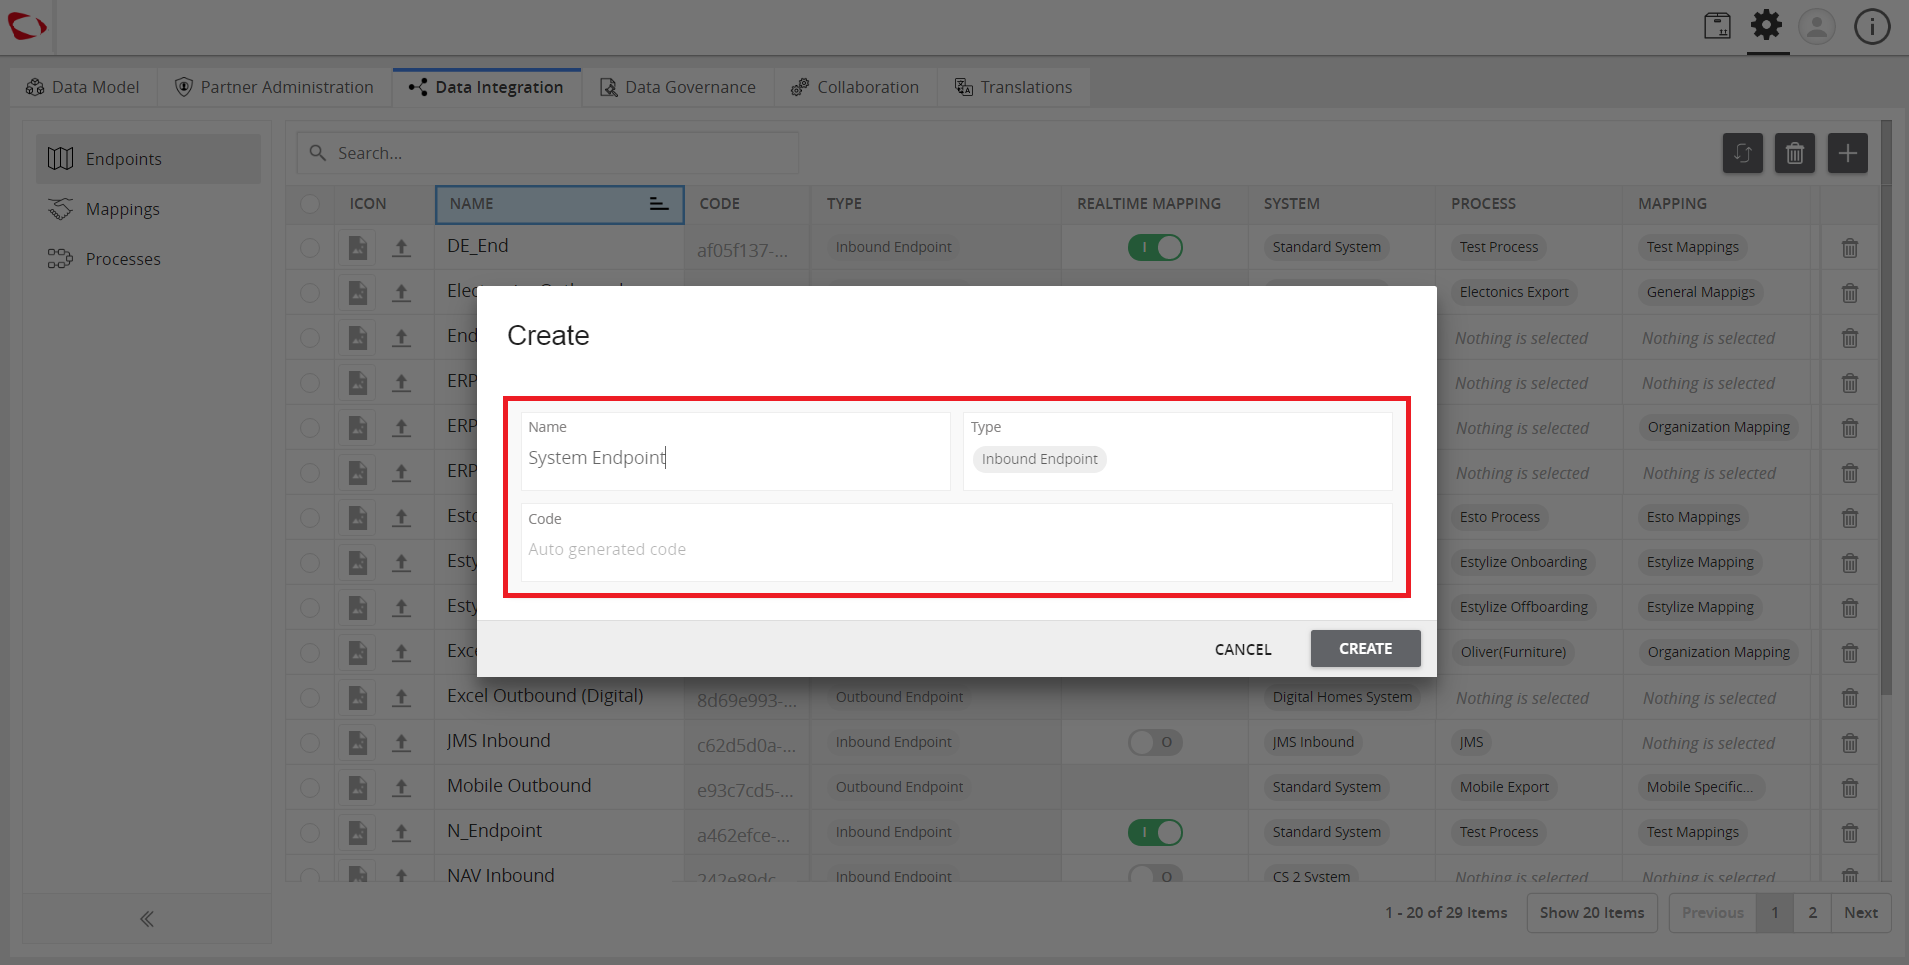
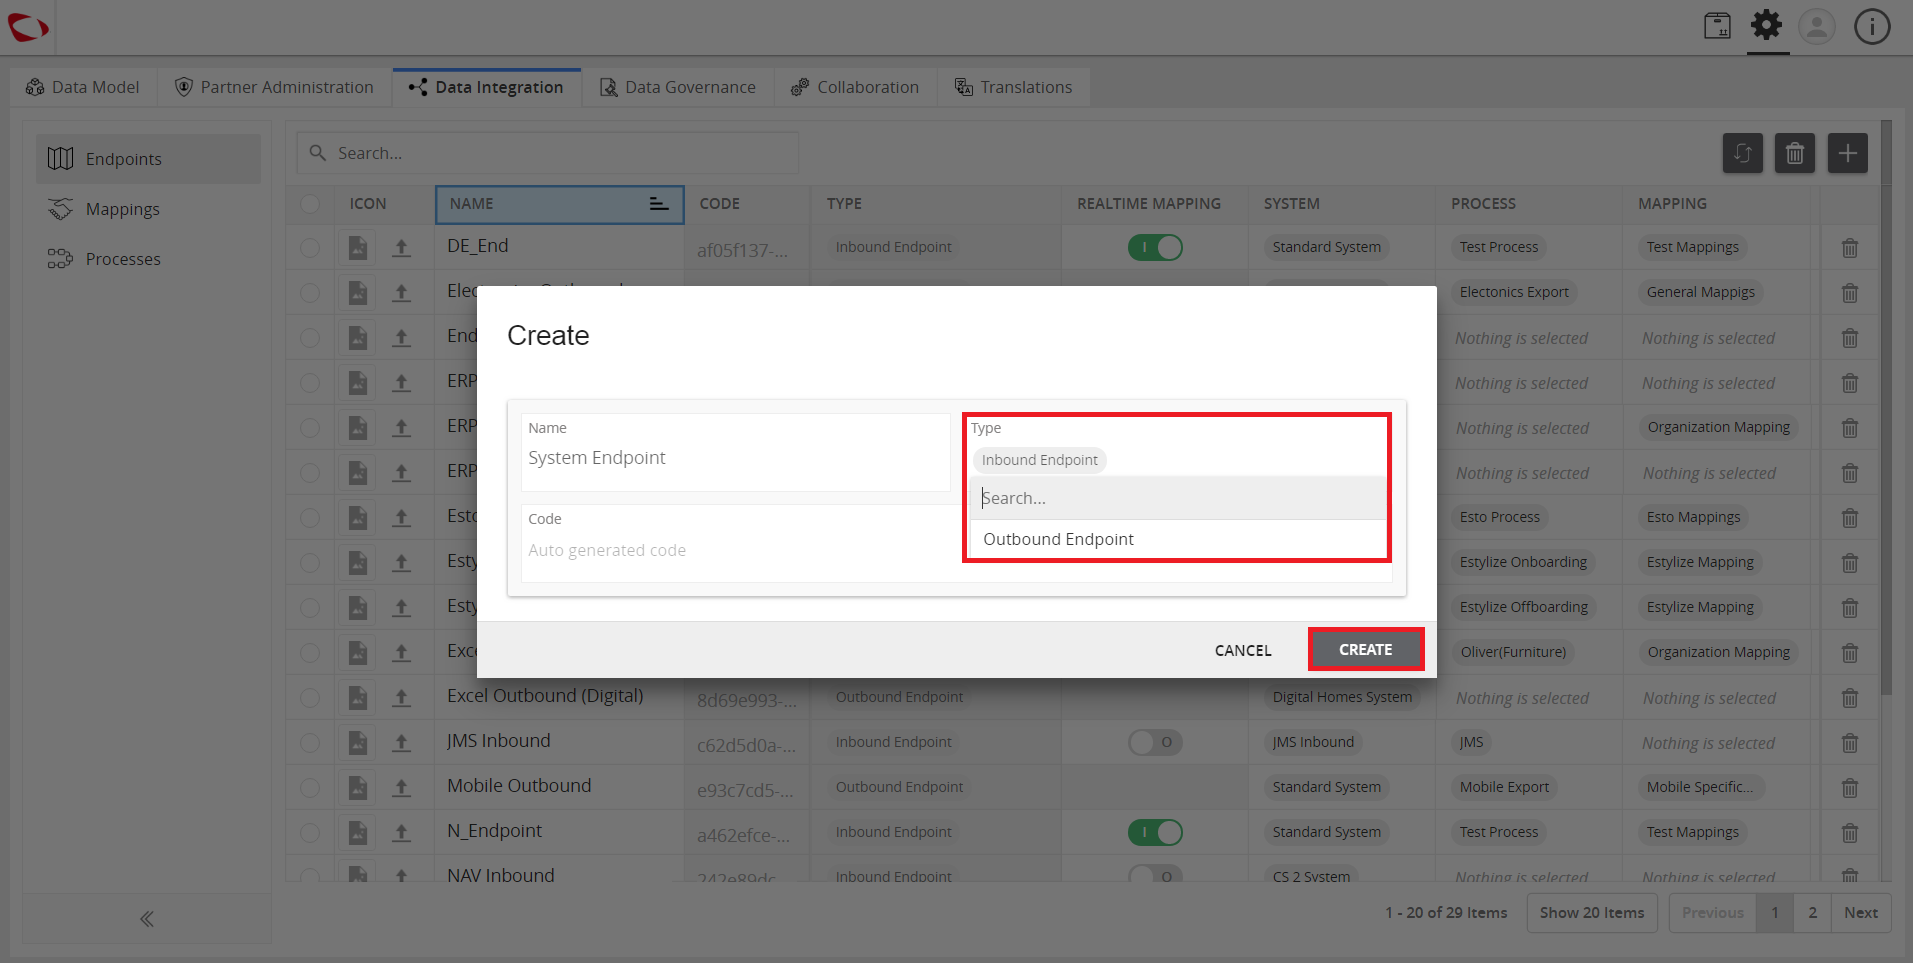
  1. If onboarding products, select the Inbound Endpoint for the Type. Click Create.
../../../../../_images/cs_systemprofilesetupandmanageendpoints_providetherequireddetails2.PNG


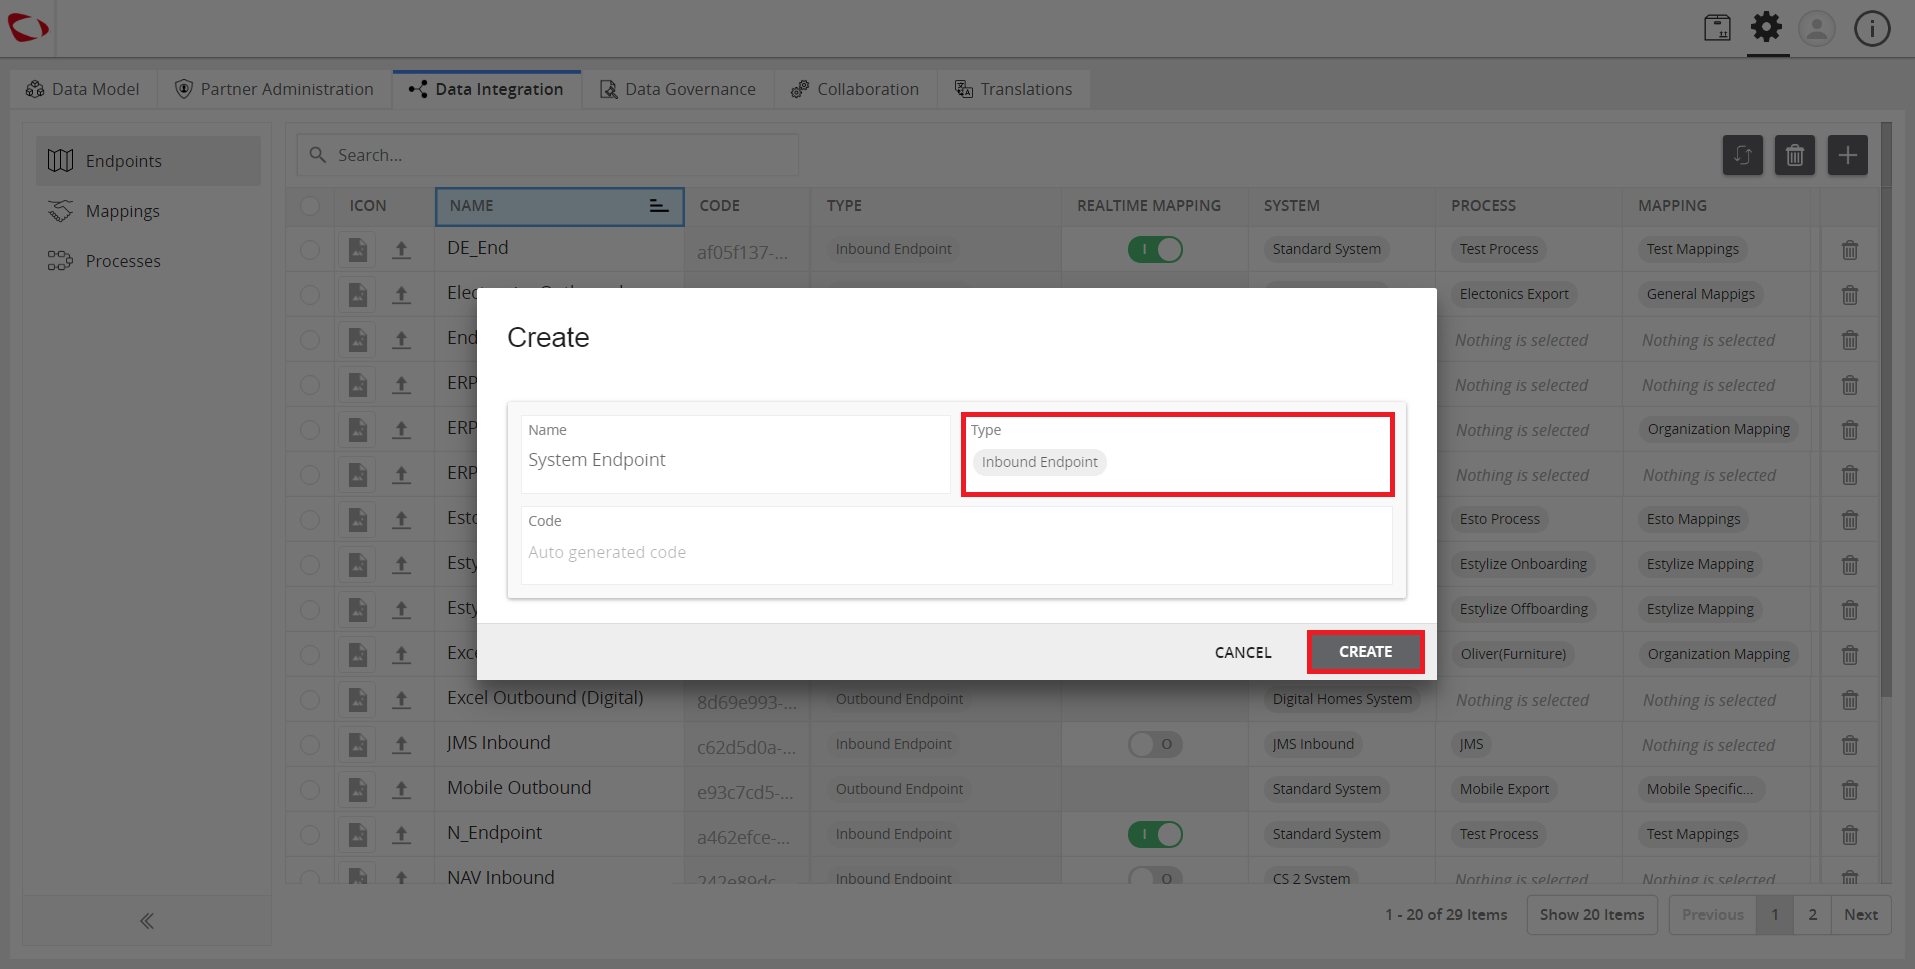
  1. If offboarding products, select the Outbound Endpoint for the Type. Click Create.
../../../../../_images/cs_systemprofilesetupandmanageendpoints_providetherequireddetails3.PNG


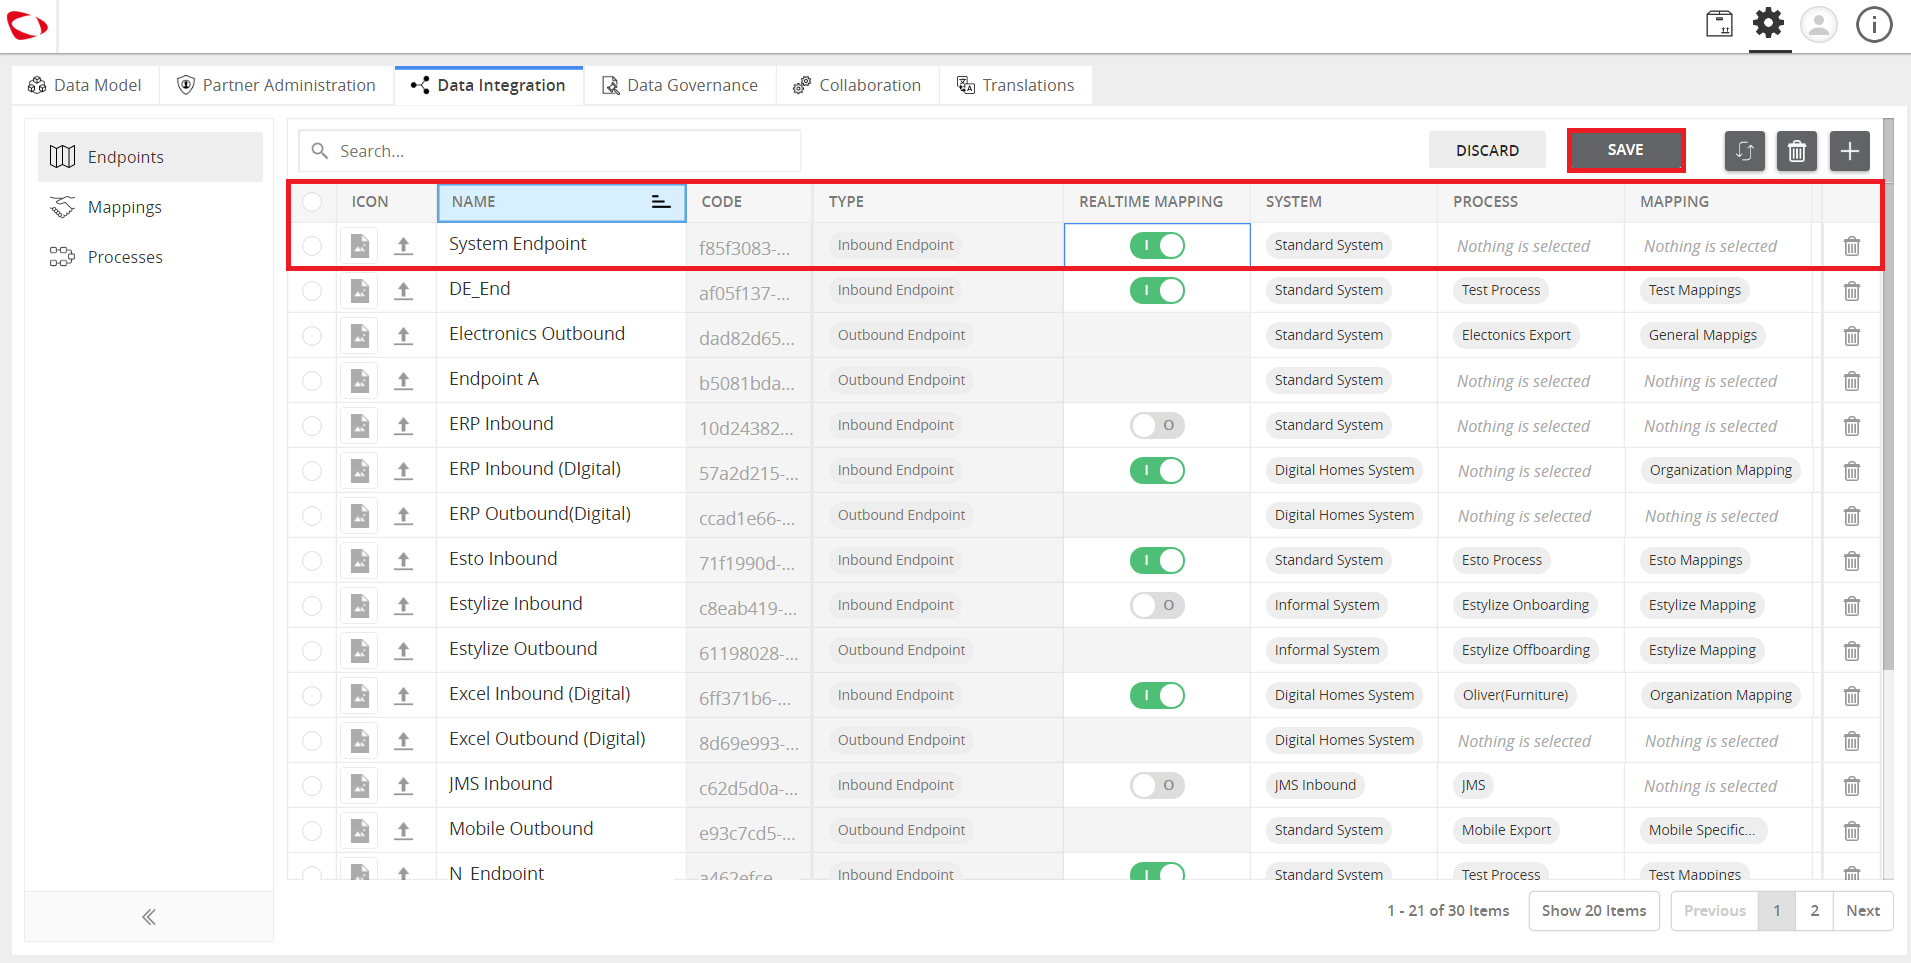
  1. Once the endpoint has been added, enable (or disable) the Realtime Mapping. This allows the mapping in runtime that can be tracked in the dashboard. Click the Save button.
../../../../../_images/cs_systemprofilesetupandmanageendpoints_oncetheendpointhasbeenadded.PNG


  1. Click on the System field and create a new system or use the “Standard System” from the selection. To create a new system, click on the Create ‘system name’ button after typing the name of the new system to be added.
../../../../../_images/cs_systemprofilesetupandmanageendpoints_clickonsystem.PNG


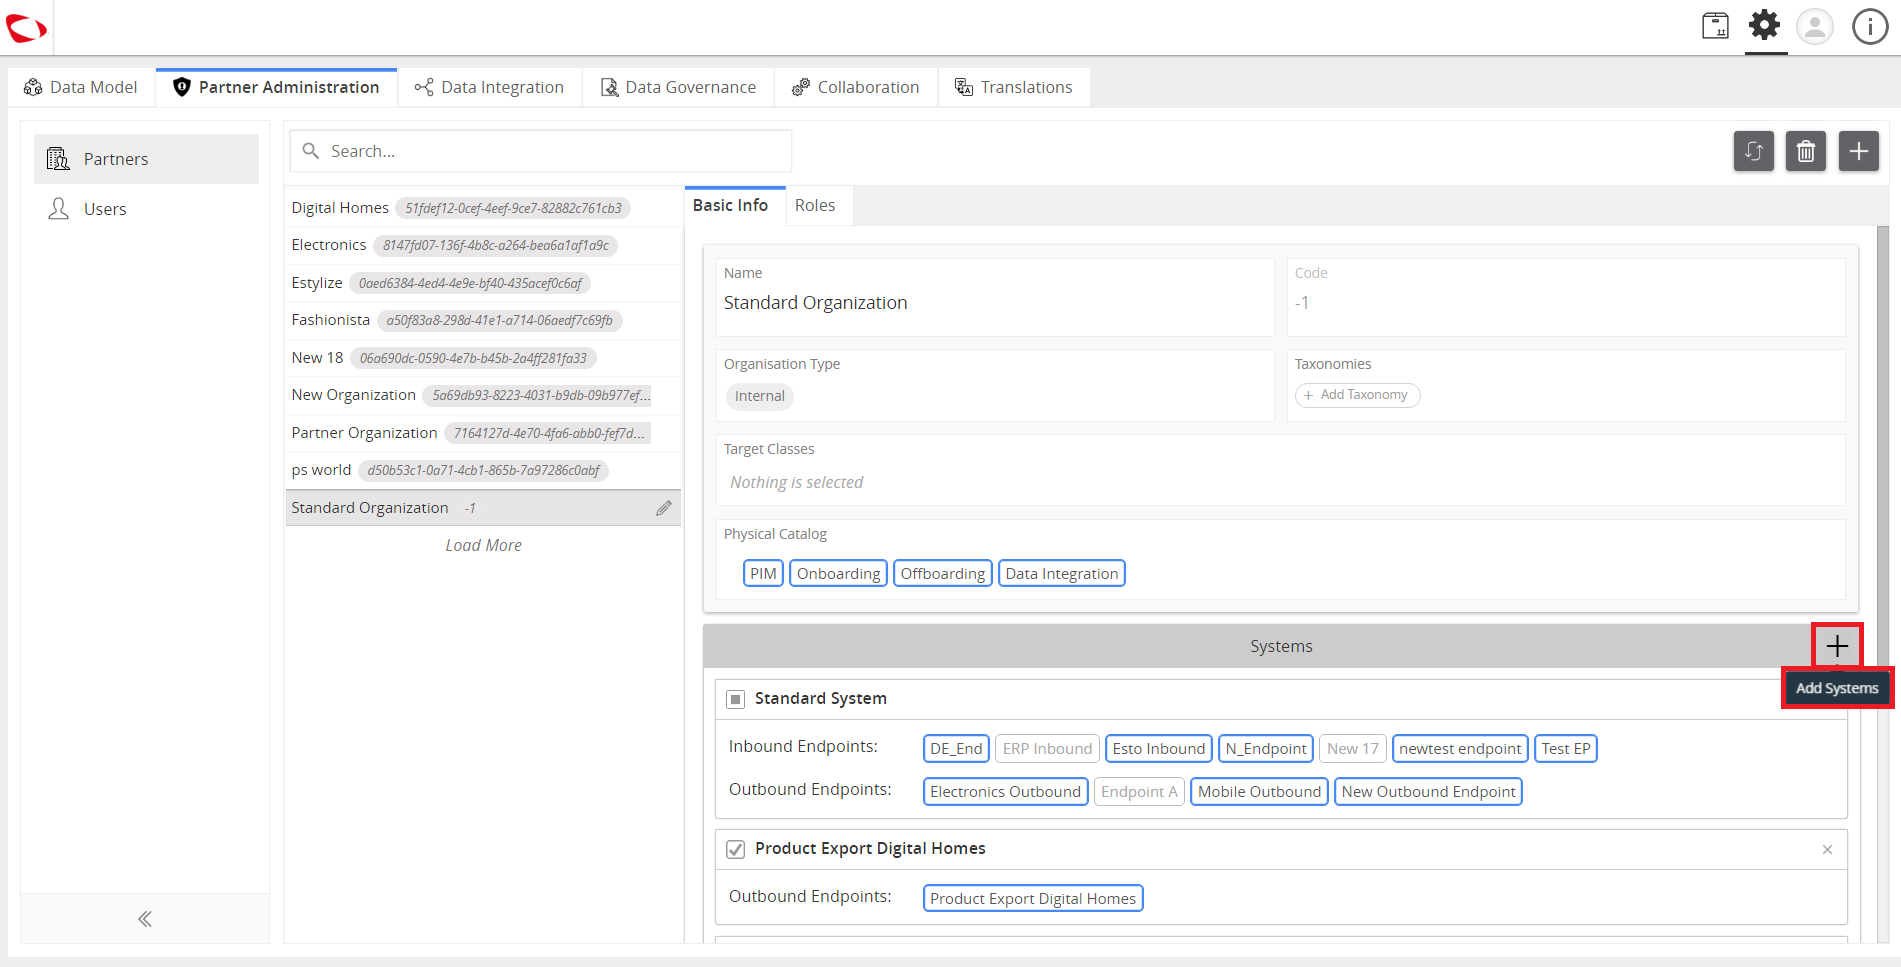
  1. Next, follow this sequence: Partner Administration tab >> Partners >> Standard Organization >> Systems.
../../../../../_images/cs_systemprofilesetupandmanageendpoints_nextfollowthissequence.PNG


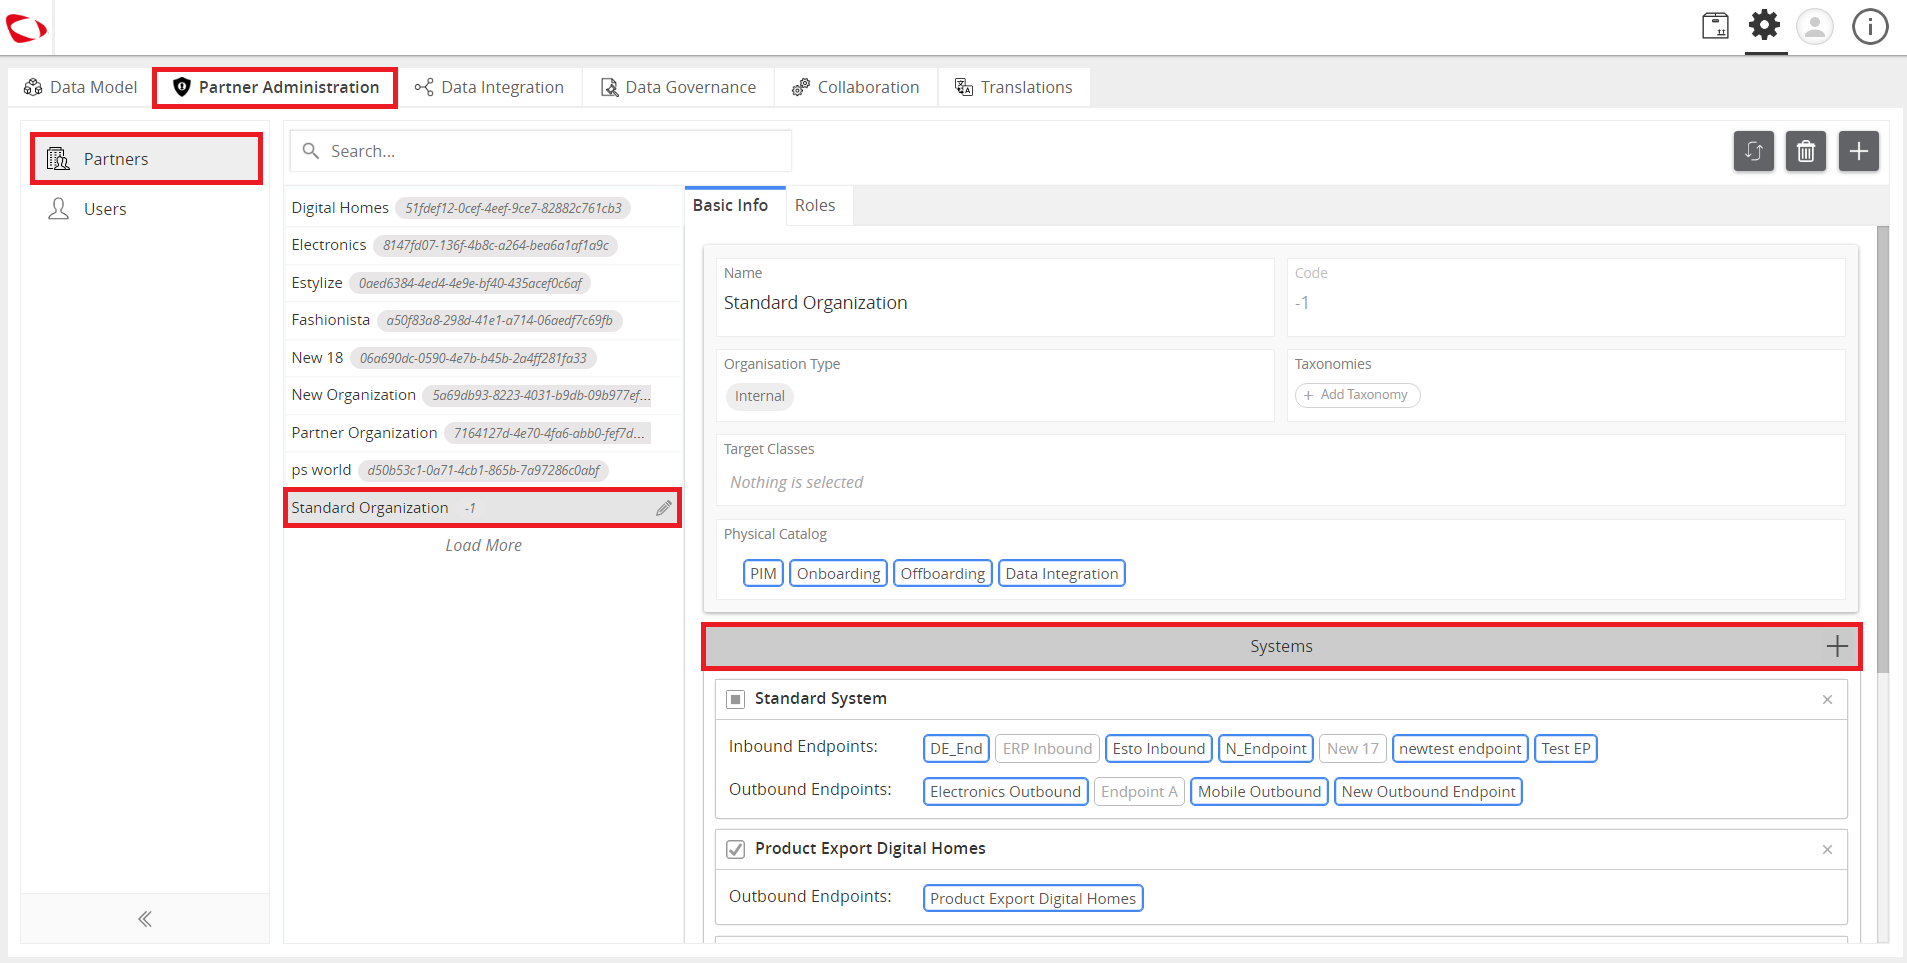
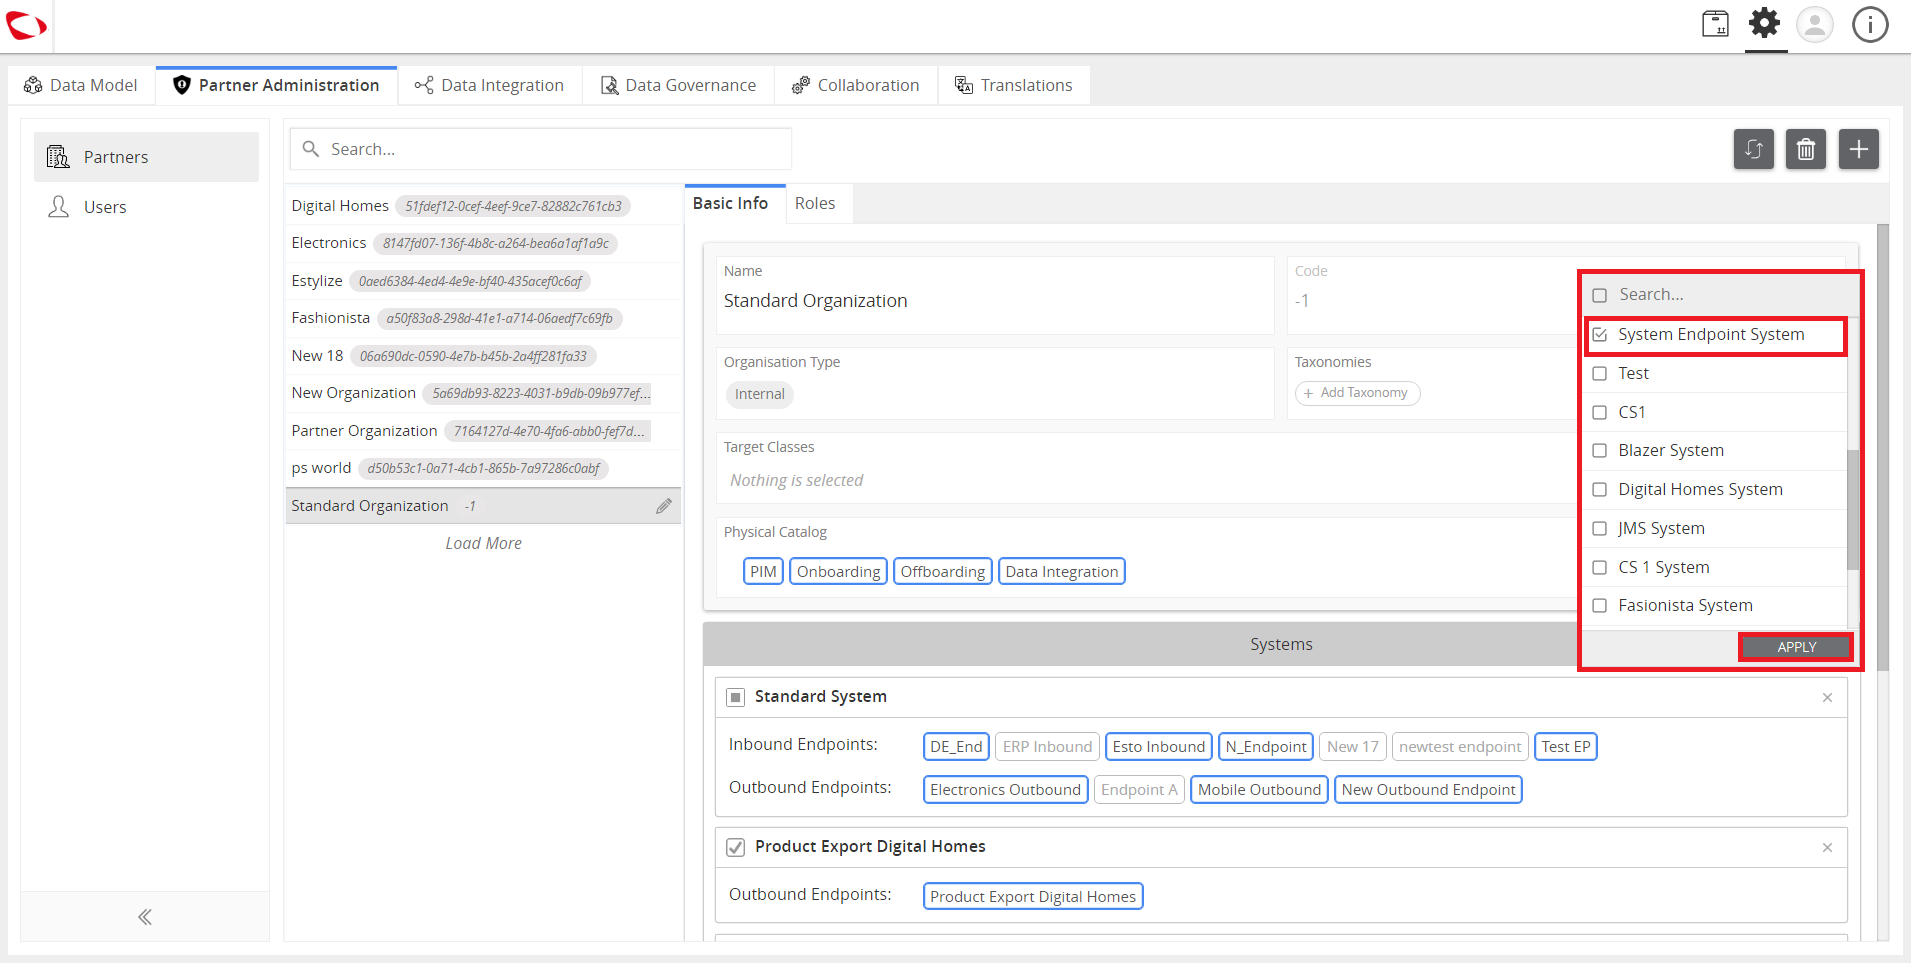
  1. Add the created system or select the Standard System as you click on the “+” icon to add systems. Then, enable the endpoint that was created.
../../../../../_images/cs_systemprofilesetupandmanageendpoints_addthesystem.PNG

../../../../../_images/cs_systemprofilesetupandmanageendpoints_addthesystem2.PNG


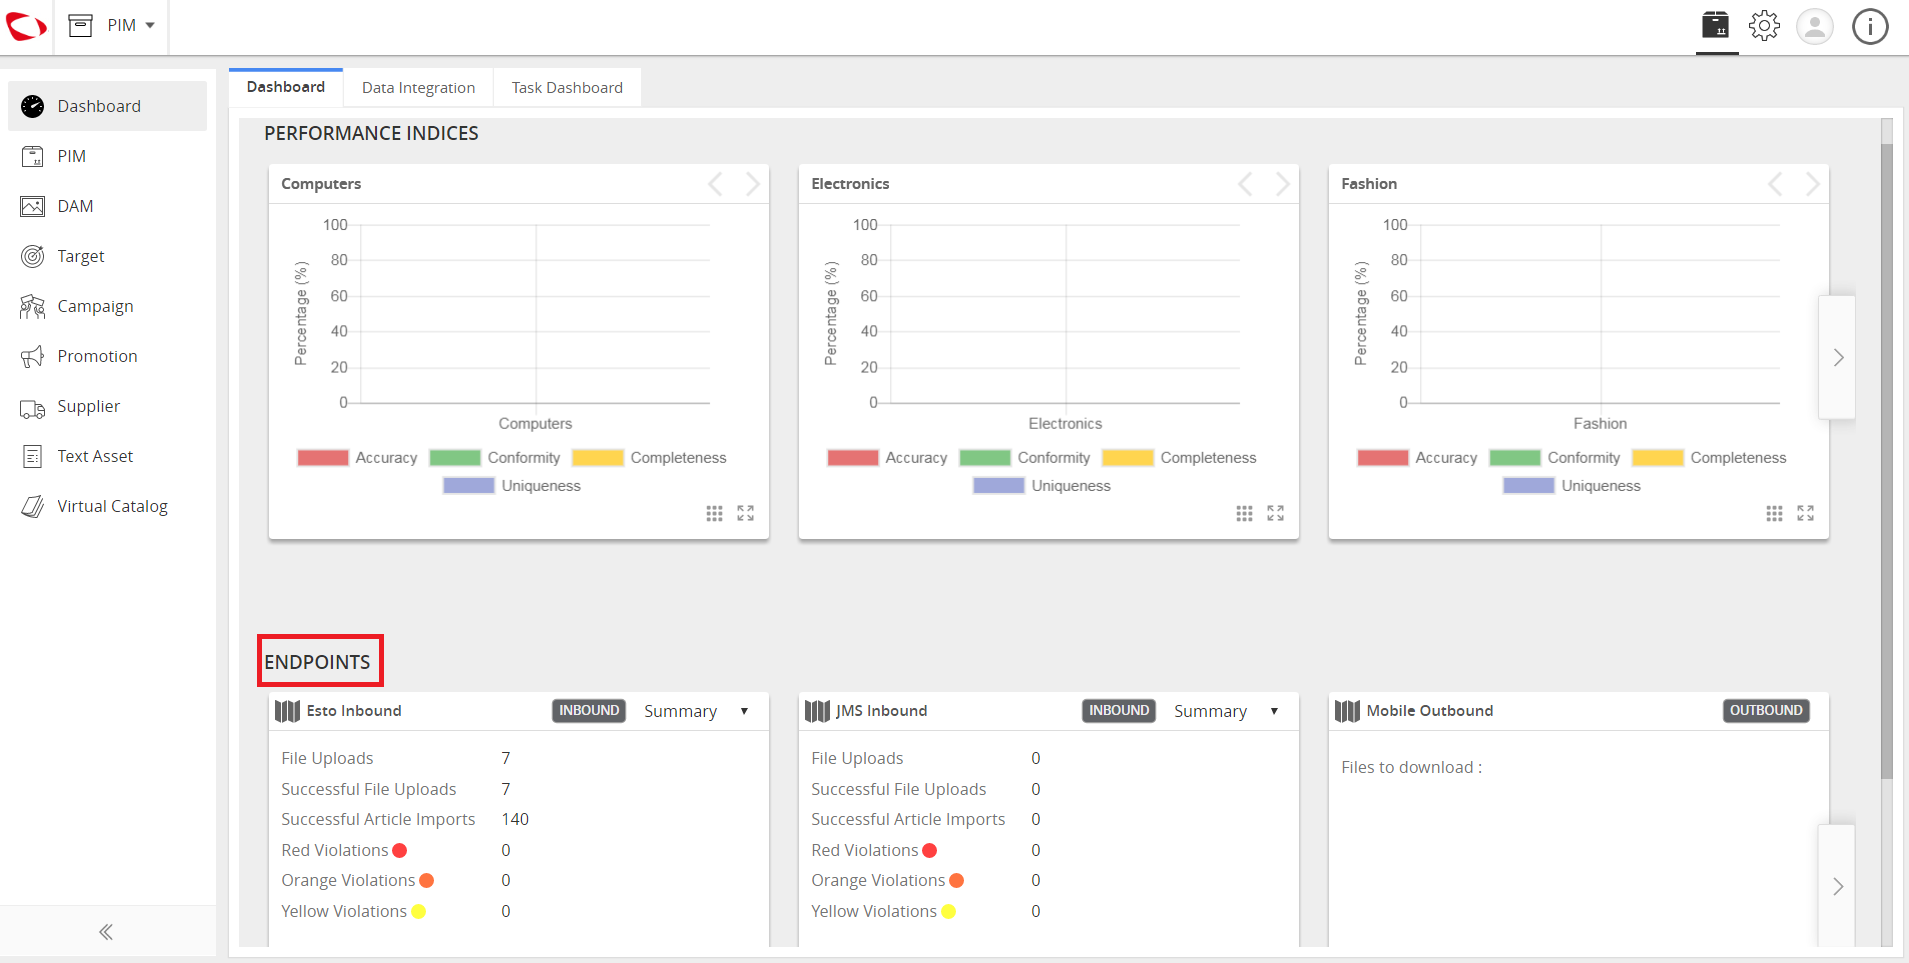
  1. View the endpoint in the Dashboard.
../../../../../_images/cs_systemprofilesetupandmanageendpoints_viewtheendpoint.PNG


Contentserv line

Last updated: Jul 27, 2018